Home Assistant Integrations Guide: Connect Every Device
This post may contain affiliate links. As an Amazon Associate we earn from qualifying purchases. Disclosure.
Explore our Home Assistant integration guides for popular smart home platforms and devices including Shelly, Philips Hue, TONGOU, and more.
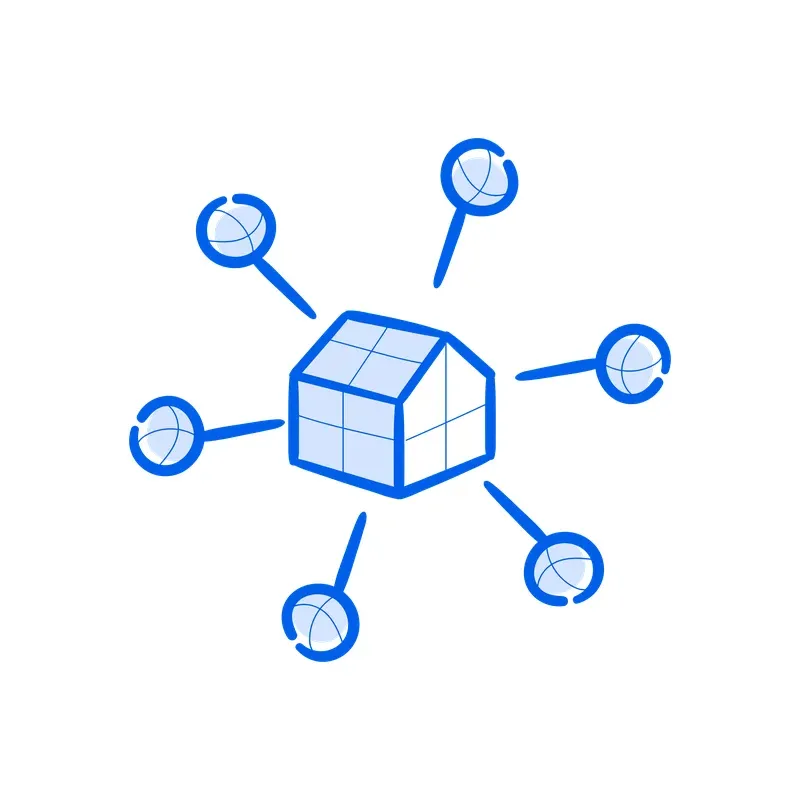
Home Assistant integrations allow you to connect virtually any smart home device or cloud service to a single, local automation platform. Whether you're adding ZigBee sensors, Wi-Fi cameras, smart plugs, or lighting systems, Home Assistant provides a unified interface for control, automations, and energy monitoring.
Bottom line: Home Assistant supports over 3,000 integrations covering ZigBee, Z-Wave, Wi-Fi, Bluetooth, and Matter devices. Local integrations respond in milliseconds and work during internet outages, so always prefer them over cloud options. Start with Shelly, Philips Hue, or ZigBee devices for the most reliable first setup.
For the ILIFE robot vacuum integration specifically (Tuya cloud and localtuya paths), read ILIFE and Home Assistant integration guide, it covers the A11 LiDAR model and three HA YAML automation examples.
What Are Home Assistant Integrations?
A Home Assistant integration is a bridge between your HA instance and an external device, protocol, or cloud service. Integrations are managed through the Settings menu under Devices & Services and can be added or removed without editing configuration files in most cases. As of Home Assistant 2025.1, there are over 3,000 official integrations covering everything from major consumer brands to niche industrial protocols.
The standards body publishes the details at Thread Border Router documentation. Integrations fall into several categories:
- Protocol-based: ZigBee (ZHA, Zigbee2MQTT), Z-Wave, Thread/Matter, Bluetooth
- Wi-Fi local: Shelly, Tuya local, LIFX, ESPHome
- Cloud-connected: Philips Hue cloud, SmartThings, Google Home
- Hybrid: Devices supporting both local and cloud modes
How Do You Choose the Right Integration Method?
Local integrations are recommended over cloud integrations wherever possible. Local control means your automations continue working during internet outages, reduces latency to milliseconds, and keeps your data on your own network. The Sonoff Zigbee 3.0 USB Dongle Plus is a reliable choice for adding local ZigBee support to any Home Assistant installation.
For devices that only support cloud APIs, Home Assistant can poll or subscribe to cloud webhooks, but reliability depends on the manufacturer's uptime. Where a local option exists, prefer it.
What Are the Popular Home Assistant Integration Guides?
Shelly and Home Assistant
Shelly devices support local HTTP and CoAP APIs, making them one of the best choices for reliable local Home Assistant integration. The Shelly integration guide covers device discovery, automation setup, and energy monitoring configuration.
Philips Hue Integration
Philips Hue works with Home Assistant both via the local Hue Bridge API and via Matter for newer Generation 3 bulbs. The Philips Hue integration guide explains how to configure the Hue integration, manage scenes, and trigger lighting automations from other devices.
TONGOU Smart Switch with Metering
TONGOU ZigBee circuit breakers bring hardware-level electrical control and real-time power metering to Home Assistant. The TONGOU smart switch setup guide walks through ZigBee pairing, entity configuration, and building energy dashboards.
How Do You Get Started with Home Assistant Integrations?
Adding your first integration requires a working Home Assistant installation and the device or account credentials for the service you want to connect.
- Open Settings and go to Devices & Services in the Home Assistant UI.
- Click Add Integration and search by brand name or protocol.
- Follow the on-screen configuration wizard.
- Once added, devices appear under the integration and expose entities (sensors, switches, lights) for use in automations.
For hardware-based integrations like ZigBee or Z-Wave, you need a compatible USB adapter connected to your Home Assistant server. Home Assistant supports Raspberry Pi, Home Assistant Green, Home Assistant Yellow, and generic x86/ARM Linux hosts.
How Do You Manage and Debug Home Assistant Integrations?
Use the Integrations page to monitor connection status, reload integrations without restarting HA, and view logged errors. The Developer Tools > States panel shows current entity values in real time, which helps diagnose why an automation isn't triggering as expected.
For zigbee mesh health, the ZHA integration provides a network visualization showing device connections and signal strength. Poor mesh coverage can be improved by adding ZigBee router devices (mains-powered plugs or switches) between the coordinator and end devices.
Home Assistant's integration ecosystem evolves quickly. Check the Home Assistant integration documentation for the latest supported features and configuration options for each integration.
Why Do Local Integrations Matter in Home Assistant?
Choosing local integrations over cloud-dependent ones significantly improves your smart home's reliability and responsiveness. When your automations run locally, they respond in milliseconds instead of the 500ms to 2-second round-trip required by cloud APIs. More importantly, local integrations keep working during internet outages - a critical advantage when automations control locks, alarms, or heating systems.
Privacy is another benefit. With local integrations, your device state data never leaves your home network. Manufacturers of cloud-integrated devices can change APIs, shut down services, or introduce subscription fees at any time. You won't have that worry with local control. Local control eliminates this dependency entirely.
For new Home Assistant users, starting with a few well-supported local integrations builds confidence before tackling more complex cloud setups. ZigBee devices, Shelly modules, and ESPHome-flashed hardware are all excellent starting points because the communities around them are large and active, documentation is thorough, and troubleshooting resources are easy to find.
What Are the Home Assistant Architecture and Installation Options?
Home Assistant runs on multiple hardware platforms, making it accessible for users with different technical comfort levels. Home Assistant OS installed on dedicated hardware like the Raspberry Pi 4 or Intel NUC provides the full feature set with supervised add-on support. Docker Container installations suit users who prefer running Home Assistant alongside other services on a shared server.
The Raspberry Pi 4 with 4GB RAM and a quality SD card handles most home automation setups with dozens of devices and automations. For larger installations with 100+ devices, an Intel NUC or mini PC provides more processing headroom. Solid-state storage significantly outperforms SD cards for reliability, particularly for write-heavy operations like database logging.
How Do You Integrate Devices and Services with Home Assistant?
Home Assistant's integration catalog includes over 3,000 official integrations covering smart home devices, weather services, media players, and cloud platforms. The built-in discovery system automatically detects many devices on your local network, presenting them as one-click setup options under Configuration > Integrations.
Local integrations that communicate directly with devices without cloud dependencies provide faster response times and continued functionality during internet outages. Zigbee2MQTT paired with a USB coordinator connects hundreds of Zigbee devices from multiple manufacturers through a single integration. Z-Wave JS integration handles Z-Wave devices with a similar unified approach, supporting 2,000+ device profiles.
How Do You Create Automations with the Visual Editor?
Home Assistant's automation editor uses a trigger-condition-action structure that makes complex automations accessible without programming knowledge. Triggers define what starts the automation: time-based schedules, device state changes, sunrise/sunset events, or webhook calls from external services.
Conditions add logic that prevents automations from running when circumstances make them inappropriate. A nighttime lighting automation can include a condition checking whether the "vacation mode" boolean is active, preventing lights from running on a schedule during extended absences. Stacking multiple conditions with AND/OR logic handles complex scenarios, and you don't need YAML editing for that.
How Do You Set Up Energy Monitoring and the Dashboard?
The Energy dashboard tracks electricity consumption across your home's devices and compares usage patterns over time. Connecting smart plugs with power monitoring to the Energy dashboard reveals which appliances consume the most electricity. Many users discover that older refrigerators, pool pumps, and HVAC systems account for 60-70% of total home energy usage.
Once your integrations are in, Lovelace is where they stop being abstract entities and become usable controls. Start with the tile card for room grouping and the entities card for compact lists; both render cleanly without touching YAML once you're in the visual editor.
How Do You Create Advanced Automations with Scripts and Templates?
Scripts in Home Assistant execute sequences of actions with delays, conditions, and loops that automations alone cannot handle. Scripts work well for multi-step device control sequences, such as a "movie mode" script that dims lights to 20%, closes motorized blinds, turns on the TV, and starts the streaming app in sequence with appropriate delays between steps.
Jinja2 templates inside automations enable dynamic values based on current sensor states. Setting thermostat temperature based on time of day and current occupancy, or choosing which room's lights to control based on motion sensor state, requires template expressions. The developer tools template editor tests template syntax interactively before embedding templates in automations.
How Do You Extend Home Assistant with Add-ons?
Home Assistant's supervised installation mode (available on Home Assistant OS) supports official and community add-ons that extend functionality without separate server installations. The Mosquitto MQTT broker add-on provides local MQTT messaging infrastructure for advanced device integrations. The Node-RED add-on offers a visual programming environment for complex automation flows that complement Home Assistant's built-in automation editor.
The File Editor add-on provides browser-based configuration file editing for users who prefer direct YAML editing over the visual interface. Advanced users who write custom integrations, template sensors, and complex automation YAML often prefer this direct editing approach. Pair File Editor with the Studio Code Server add-on for full IDE-style editing with syntax validation and code completion in the browser.
What Community Resources and Documentation Are Available?
The Home Assistant community provides exceptional documentation and troubleshooting support for users at all experience levels. The official documentation at home-assistant.io covers every official integration with configuration examples and troubleshooting guidance. The Home Assistant Community Forum addresses specific configuration questions through an active community of millions of experienced users.
The Home Assistant Developer Documentation describes the integration API for users creating custom integrations for unsupported devices. Custom components published on GitHub and documented in the Home Assistant Community Store (HACS) extend device support to thousands of products that aren't covered by official integrations. HACS simplifies custom integration installation and updates to a one-click process comparable to official integration management.
Frequently Asked Questions
What are Home Assistant integrations?
Home Assistant integrations are software components that connect external devices and services to your Home Assistant instance. They support over 2,000 brands and protocols including Zigbee, Z-Wave, Wi-Fi, Bluetooth, and Matter. Integrations enable unified control, automations, and energy monitoring across all your smart home devices from a single local platform.
How do I add integrations to Home Assistant?
Go to Settings, then Devices and Services, and click Add Integration. Many devices are auto-discovered on your network and appear as notifications. For manual setup, search for the integration name, enter the device IP address or credentials, and follow the setup wizard. Most integrations take under 2 minutes to configure.
What are the most popular Home Assistant integrations?
The most popular integrations include Shelly (23.6% of installations), Philips Hue for lighting control, MQTT for custom device communication, Zigbee Home Automation for sensor networks, Tuya for budget smart devices, and Sonoff for DIY switches. Home Assistant Analytics tracks real-time adoption rates for all integrations.
Do Home Assistant integrations work without internet?
Most Home Assistant integrations work locally without internet. Shelly, Philips Hue, Zigbee, and Z-Wave devices communicate directly with your Home Assistant server on the local network. Cloud-dependent integrations like Tuya and some camera services require internet. Local control is a key advantage of Home Assistant over cloud-only platforms.
Can Home Assistant integrate with Alexa and Google Home?
Yes, Home Assistant can expose devices to both Amazon Alexa and Google Home for voice control. The Nabu Casa cloud service ($6.50/month) provides the easiest setup. Free alternatives include manual configuration with Amazon developer accounts or Google Actions projects. Once connected, all Home Assistant devices appear as controllable entities in the voice assistant apps.