
Smart lighting installation is made easy when you turn ordinary lights into a smart, automated system without any hassle. This comprehensive tutorial gives you everything you need: planning, installation, voice control, tips on energy savings, security, and outdoor scenes. It will help you master your setup from start to finish with step-by-step instructions designed to show how simple and easy the process is for anyone.
Each step is explained clearly in this complete tutorial, making smart lighting installation easier than ever before.
Why "Smart Home Lighting Installation" Is a Game-Changer
Updating your lights is more than just flipping a switch. A well-done smart home lighting installation offers:
- Energy savings with efficient LEDs, schedules, and motion triggers
- Custom ambience with scenes that match your mood or activity
- Better security with occupancy simulation and motion-activated lighting
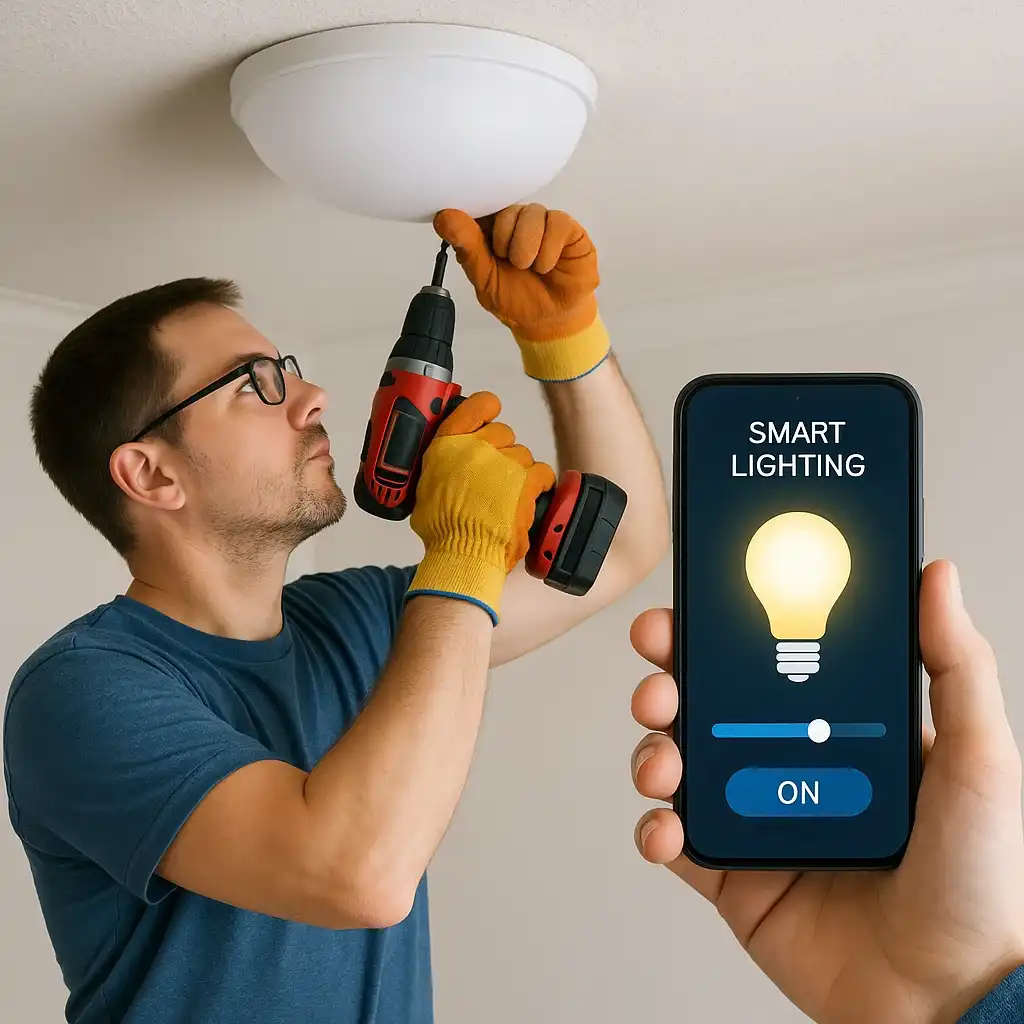
- Easy voice control and remote operation via apps or assistants
Together, these features turn your lighting upgrade into a smarter lifestyle.
Smart lighting also lets you personalize beyond simple on/off control. Imagine a movie night preset where lights dim automatically when your streaming device turns on. Or a gradual wake-up light that mimics sunrise for a healthier start to your day.
These ideas blend wellness, entertainment, and convenience. Plus, smart lighting is scalable-you can start with a few bulbs and add smart plugs, thermostats, or even a video doorbell. This keeps your investment manageable and offers long-term benefits.
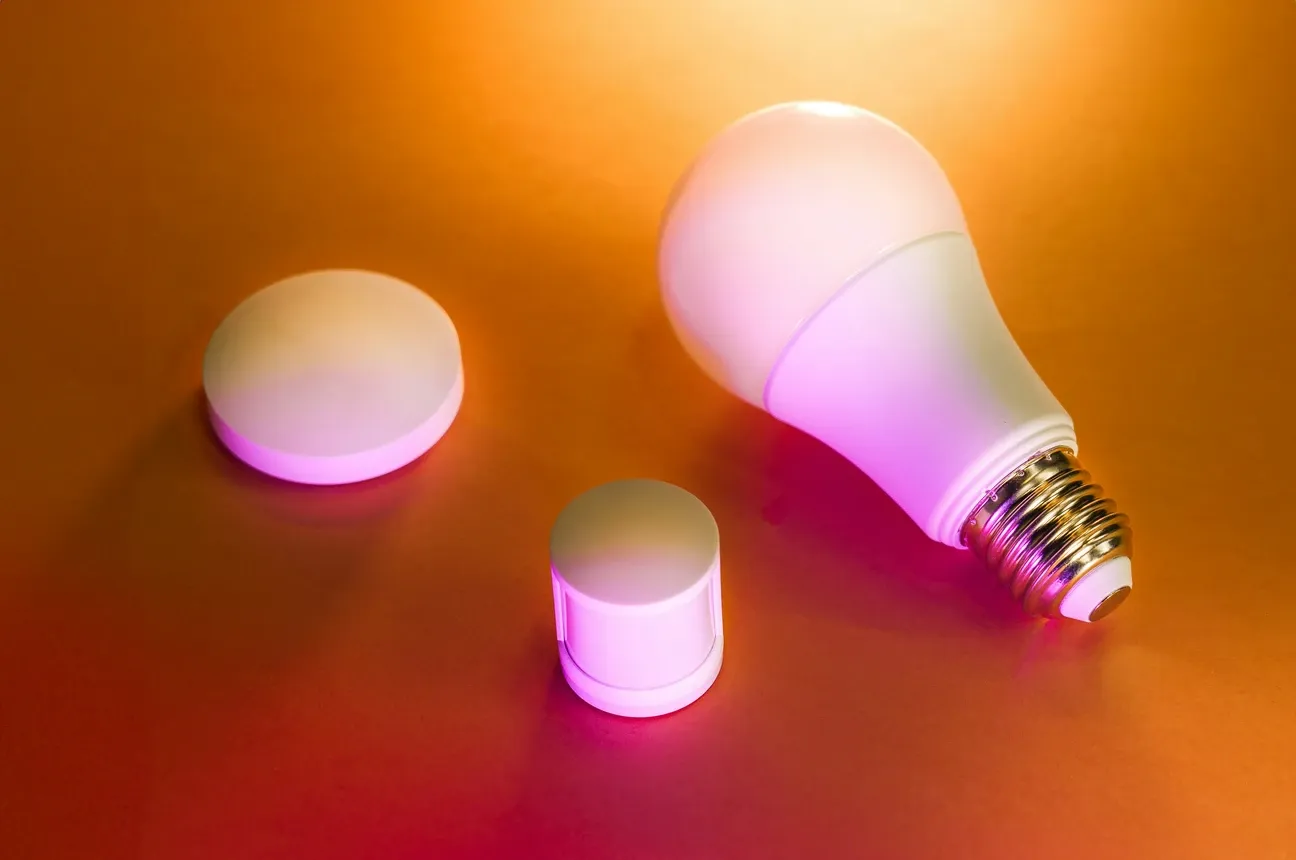
A popular and trusted brand for this approach is Philips Hue. Philips Hue offers a range of products for all smart home lighting needs, from basic bulbs to advanced outdoor lights.
The Philips Hue Bridge acts as the central hub. It enables advanced automation and smooth integration with voice assistants and other smart devices.
A newer option, the Philips Hue Bridge Pro, is designed for larger setups and power users. It offers better reliability, faster automations, and pro-level integration, while staying compatible with existing Hue lights and accessories.
For creative accent lighting, the Philips Hue Lightstrip Plus is a flexible strip that you can install under cabinets, behind TVs, or anywhere you want customizable light effects. For a budget-friendly alternative with rich color options, the LIFX Everyday Lightstrip offers 8 addressable zones and Wi-Fi control without requiring a bridge, making it perfect for creative lighting projects.
For outdoor use, the Philips Hue Lily Outdoor Spot Light lights up gardens, pathways, and other outdoor spots with bright, controllable light.
On the bulb side, the Philips Hue Smart 60W A19 is a versatile, dimmable bulb that fits everyday fixtures and offers full smart features. For a simpler, more energy-efficient option, the Philips Hue White A19 LED Smart Bulb provides basic on/off and dimming control. Together, these products show how Philips Hue supports a flexible, expandable smart lighting system that grows with your home and lifestyle.
The Philips Hue ecosystem connects easily, letting all products communicate through the Hue Bridge and the user-friendly Hue app. This app gives you full control over your lighting, including scheduling, scene creation, and real-time adjustments, all from one place.
It works with major smart home systems like Amazon Alexa, Google Assistant, and Apple HomeKit. This ensures smooth voice control and integration with other smart devices.
Whether you are a beginner setting up your first smart bulb or an advanced user creating complex automations, the Philips Hue system offers a scalable, reliable solution. Installation is simple, with clear instructions and flexible options for different skill levels.
The mix of strong hardware, versatile software, and wide compatibility makes Philips Hue a top choice for those wanting a smart lighting system that adapts and grows with their needs.
Beyond Philips Hue, Govee Light strips are a budget-friendly way to add dramatic accent lighting to cabinets, desks, and entertainment areas. The Govee LED Strip Light M1 offers bright output, addressable color zones, smooth dimming, and rich scenes in the Govee app.
It also supports music-reactive effects using your phone's microphone or an optional controller. This lets your bias lighting pulse with movies or playlists. Installation is simple: measure, clean the surface, stick the strip, connect to 2.4 GHz Wi‑Fi, then enable voice control with Amazon Alexa or Google Assistant.
For even more advanced color effects, the Govee RGBIC LED Strip Lights deliver ultra-bright output with individually addressable LEDs. This means different segments of the same strip can display different colors and effects simultaneously, creating stunning dynamic scenes perfect for home entertainment setups. Similarly, the Aqara LED Strip T1 offers vibrant RGB colors with 16 million color options and music sync capabilities, working seamlessly with Thread and Zigbee for flexible smart home integration.
For focused recessed or spotting lighting, the LIFX GU10 Smart Bulb is an excellent choice. It delivers 400 lumens of brightness with 16 million colors, all controllable via Wi-Fi without requiring a hub. The GU10 form factor makes it ideal for replacing standard recessed bulbs in kitchens, bathrooms, and accent areas. For general-purpose lighting, the LIFX Everyday A19 Smart Bulb provides 800 lumens with Matter support, making it perfect for standard table lamps and ceiling fixtures that need reliable, colorful lighting. For outdoor pathway and accent lighting, the LIFX Outdoor Path Square and LIFX Outdoor Path Round both provide weatherproof, colorful lighting with 6 addressable color zones, perfect for gardens and walkways. For those seeking Matter and Thread compatibility, the Nanoleaf Essentials GU10 Smart Bulb offers 16 million colors with tunable whites and seamless smart home integration. Its energy-efficient design and direct Wi-Fi connectivity make setup straightforward for any smart lighting system.
If you want vivid accents without rewiring, these budget-friendly bulbs are easy add-ons that work well with switches and other lights already in your smart home. For a simpler option, the Govee Smart LED Bulb offers colorful ambient lighting with app control and voice integration at an affordable price point, making it perfect for budget-conscious users. Another excellent budget-friendly choice is the Roku Smart Light Bulb, which delivers 16 million colors and intelligent dimming without requiring a separate hub-perfect for users seeking simplicity and affordability. For those integrating Matter and Thread, the Aqara LED Bulb T2 delivers 16 million colors with tunable white light and MARS Tech connectivity that maintains control even when wall switches are toggled, making it an excellent choice for comprehensive smart lighting systems. The Kasa Smart Light Bulb KL135 provides reliable Wi-Fi connectivity with 16 million colors and voice control compatibility, offering seamless integration into existing TP-Link Kasa ecosystems.
For users looking to maximize energy savings during special occasions while upgrading their smart lighting, our energy-saving tips for a smart Christmas guide demonstrates how smart lighting can reduce consumption during the holiday season.
Pre-Installation Checklist
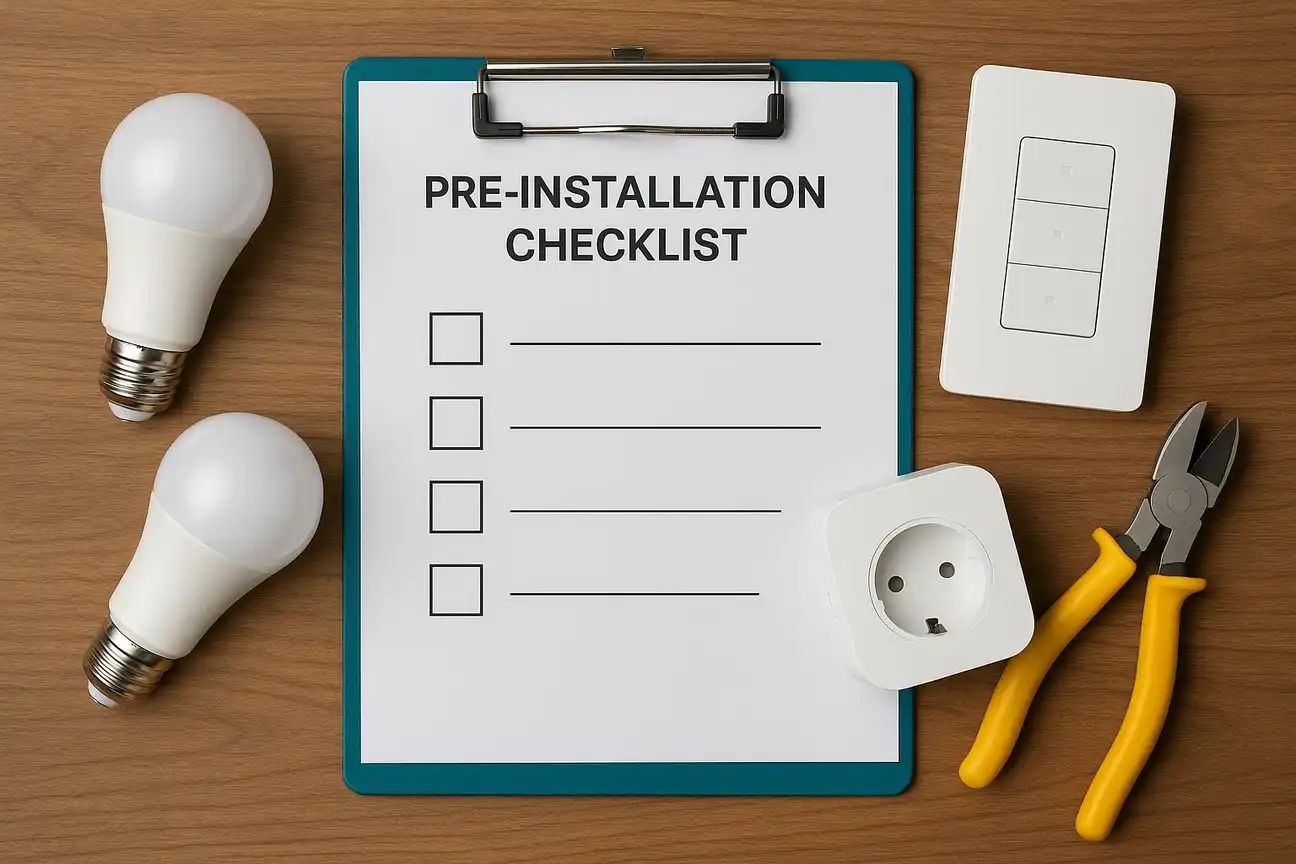
Before starting your smart home lighting installation, make sure you are ready:
- Audit your lighting: check sockets, fixture types, and bulb shapes.
- Check compatibility: Make sure bulbs or switches match your ecosystem (Wi-Fi, Zigbee, Thread).
- Verify network and hub readiness: Have strong 2.4 GHz Wi‑Fi or a hub (Hue Bridge or Hue Bridge Pro) nearby.
- Set up required apps and voice assistant accounts.
- Plan safety: Know how to turn off power during installation.
Essential Prep Steps Before Installation
A successful smart lighting installation starts with good preparation. Beyond the basic checklist, a few extra steps save time, reduce frustration, and help you design a system that fits your lifestyle.
A reliable smart lighting system makes daily life easier by giving you flexible control over all your home’s lights. Whether you use smart bulbs, switches, or strips, the right setup ensures each room has the perfect mood and brightness.
Modern solutions let you control lights via apps and remotely, so you can adjust brightness, colors, or schedules from anywhere. Integration with other home devices through a smart hub keeps everything connected and in sync.
When planned well, your smart lighting becomes the heart of your home automation, offering comfort, security, and energy savings.
Define Lighting Goals
Think about your main goals. Do you want brighter workspaces, mood-setting colors, or better security with motion sensors?
This helps you pick the right devices-bulbs, switches, or strips-for each room. For example, warm dimmable lights work well in bedrooms, while color-changing strips add energy to a gaming area.
Understand Product Types
Not all smart lights work the same. Some use Wi-Fi for direct control. Others use Zigbee or Thread through a hub like the Philips Hue Bridge.
Each has pros and cons: Wi-Fi is easy to set up but can slow your network. Hub-based systems support bigger setups and offer more stability. Knowing this helps you choose the best option.
Evaluate Your Network Strength
Strong, steady Wi-Fi is key for smart home devices. Test coverage in every room where you plan to install lights. If you find weak spots, consider a mesh Wi-Fi system or range extenders.
Without good connectivity, automation and voice control might fail.
Gather Tools and Safety Equipment
Have basic tools ready: screwdriver, ladder, voltage tester. Use safety gear like insulated gloves and protective glasses to avoid accidents.
Being prepared makes installation smoother and safer.
Plan for Scalability
Many start with just a few smart bulbs. But it's smart to plan for future growth. Choose systems that easily connect with other smart devices like thermostats, cameras, and plugs.
This keeps your setup flexible and cost-effective as your needs change. For advanced users interested in custom integrations and tinkering with smart home automation, compact devices like the Raspberry Pi Zero 2 W offer powerful computing in a tiny package, enabling custom lighting controllers and advanced home automation projects beyond standard commercial offerings.
Consider Professional Support
DIY works for many, but bigger or complex projects-like installing 20 lights during a remodel-may need pros. Philips Hue even offers professional installation services for peace of mind and the best results.
Safety First
Always put safety first. Turn off power at the breaker before handling fixtures or wiring. Double-check connections. If unsure, ask a qualified electrician.
Following safety steps protects your home, light fixtures, and devices.
By following these extra prep steps, your smart lighting installation will be safe, efficient, and tailored to your lifestyle. The better you plan, the easier the installation-and the more rewarding your smart lighting system will be.
Step-by-Step Smart Home Lighting Installation
1. Safely Power Down & Replace
Turn off power, let bulbs cool, then carefully replace your old bulbs or switches.
2. Install Smart Bulbs or Switches
Screw in or wire smart bulbs and switches. Note: smart switches may need neutral wires or wiring knowledge. Some brands like Lutron Caseta work without neutral wires, making them ideal for older homes.
3. Pair via App or Hub
Find each light, give it a clear name (like "Kitchen Island"), and set it up for voice control and routines.
4. Link to Voice Assistant
Enable integrations in Alexa, Google Home, or HomeKit. Then test a voice command like “Turn on Kitchen Island.”
5. Create Scenes & Automation
Build routines like "Good Morning" or "Night Mode." These workflows add real magic and improve your experience.
6. Troubleshoot & Keep Updated
If pairing fails, check range, reset the bulb, then try again. Keep firmware updated-they often fix bugs.
7. Document & Refine
Write down names and performance notes. Adjust as needed to keep your setup working well and easy to use.
Lighting Design Principles for Different Rooms
Understanding how to design lighting for each space ensures maximum comfort and functionality.
Bedroom Lighting Design:
- Main light: Dimmable bulbs (1,000-2,000 lumens) for reading or getting ready
- Accent lighting: Warm white (2700K) for relaxation and sleep support
- Task lighting: Bedside lamps on smart switches for nighttime navigation without waking your partner
- Automation: Gradually brighten at wake time, dim to red-tinted light before sleep for melatonin support
Kitchen Lighting Design:
- Main light: Bright white (4000K), 2,000-3,000 lumens for food preparation and safety
- Task lighting: Under-cabinet smart strips for countertop visibility
- Accent lighting: Dimmable island lights for dining and entertaining
- Color temperature: Cooler during morning/cooking, warmer during evening dining
Living Room Lighting Design:
- Main light: Dimmable warm white (2700K-3000K) for relaxation and entertainment
- Accent lighting: Color-changing strips behind TV for immersive movie experience
- Layered control: Multiple switches/scenes for different activities (movie night, reading, hosting)
- Mood creation: Scene automation for different times of day and activities
Home Office Lighting Design:
- Main light: Cool white (4000K-5000K), 1,500-2,000 lumens to reduce eye strain and boost focus
- Task lighting: Desk lamps with adjustable color temperature
- Accent RGB lighting: The Nanoleaf Pegboard Desk Dock RGB Hub adds programmable ambient lighting to your desk with customizable effects and app control
- Break automation: Reminder scenes that shift to warmer light every 2 hours
- Video call optimization: Front-facing lighting that flatters your appearance
Bathroom Lighting Design:
- Main light: Bright white (4000K), 1,500-2,000 lumens for grooming and safety
- Mirror lighting: Side lights or strips for flattering, shadow-free makeup application
- Nightlight: Dim red or amber scene to maintain night vision during nighttime visits
- Humidity consideration: Choose lights rated for high moisture environments
Common Installation Mistakes to Avoid
Learning from others' mistakes saves time, money, and frustration during your smart lighting installation.
Mistake 1: Mixing Incompatible Ecosystems Don't buy lights that don't work together. If you choose Philips Hue, stick with Hue bulbs and bridges. If you prefer Govee, use Govee products. Mixing creates app fragmentation and automation headaches. Plan your ecosystem before purchasing anything.
Mistake 2: Insufficient Network Planning Many people install smart lights only to discover weak Wi-Fi coverage. Test connectivity in every room BEFORE installation. Invest in mesh Wi-Fi or range extenders upfront to avoid expensive relocation later.
Mistake 3: Choosing Wrong Product Type for the Application Don't use Wi-Fi bulbs in a large multi-room setup (network overload). Don't use hub-based systems if you want ultimate portability. Match product type to your scale: Wi-Fi for 5-10 lights, hub-based for 20+ lights, Zigbee for complex mixed setups.
Mistake 4: Ignoring Neutral Wire Requirements Smart switches often require neutral wires that older homes lack. Check your wiring before buying expensive switches. Lutron Caseta and certain other brands work without neutrals if this is an issue in your home.
Mistake 5: Over-Automating Initially New users create overly complex automations that confuse them later. Start simple: one "Good Morning" scene and one "Goodnight" scene. Add more only after you're comfortable with the basic operation.
Mistake 6: Not Documenting Device Names Ambiguous names like "Light 1" and "Light 2" create confusion when voice commanding or automating. Use descriptive names immediately: "Kitchen Island," "Bedroom Bedside," "Living Room Accent." This clarity prevents voice command failures.
Mistake 7: Neglecting Firmware Updates Smart light manufacturers regularly release firmware updates fixing bugs, improving stability, and adding features. Set aside time quarterly to update all devices. These updates often dramatically improve reliability.
Mistake 8: Poor Placement of Hub/Bridge Central placement of your Hue Bridge or hub is critical. Placing it in a closet, basement, or behind metal objects creates dead zones. Put it in an open, central location on a high shelf for optimal range.
Integration with Other Smart Home Devices
Smart lighting becomes truly powerful when integrated with your complete smart home ecosystem.
Integration with Motion Sensors: Link motion sensors to lights for automatic on/off. Create automations like:
- Bathroom: Motion detected → lights on at 20% brightness (nighttime mode), off after 5 minutes of no motion
- Hallway: Motion detected → lights on at 50%, turn off after 10 minutes
- Garage: Motion detected → lights full brightness, turn off after 30 minutes
Integration with Door/Window Sensors: Trigger lighting based on home security:
- Front door opens → entryway lights gradually brighten
- All windows closed → outdoor lights turn on at sunset
- Motion at front door after dark → spotlight automatically turns on
Integration with Thermostats: Coordinate lighting with temperature for comfort:
- Thermostat heating → warm-tinted lighting in living areas
- AC cooling → cooler white lighting throughout the day
- Room temperature change → adjust room-specific lighting brightness
Integration with Entertainment Systems: Create immersive experiences:
- TV turns on → living room lights fade to 10%, accent lights behind TV activate
- Movie selected → room-specific lighting adjusts based on genre (action = red accent, comedy = warm glow)
- Movie ends → lights gradually brighten back to normal
Integration with Security Systems: Enhance home security:
- Armed system → all lights turn off (away mode)
- Motion detected while armed → specific lights illuminate
- Disarmed system → entryway and main hallway lights turn on
Integration with Voice Assistants: Advanced voice control scenarios:
- "Good morning" → bedroom gradually brightens, kitchen lights full brightness, coffee maker starts
- "Movie time" → living room accent lights activate, main lights dim, TV turns on, thermostat adjusts
- "Leaving home" → all lights turn off, security lights arm to random on/off patterns
Advanced Automation Examples
Once comfortable with basics, these advanced scenarios unlock smart lighting's full potential.
Seasonal Automations:
- Winter: Earlier sunset automation, warmer color temperatures throughout day
- Summer: Later sunset automation, cooler color temperatures during work hours
- Spring/Fall: Automatic transition times as daylight changes
Presence-Based Automations:
- Last person leaving home: All lights turn off, security lights arm
- First person arriving home: Entryway and main areas turn on gradually
- Nobody home for 30+ minutes: Lights enter "away" mode with random patterns
Time-Based Scene Automations:
- 6:00 AM: Bedroom lights gradually brighten (sunrise simulation)
- 7:00 AM: Kitchen lights full brightness, cool white for alertness
- 12:00 PM: All lights full brightness
- 5:00 PM: Transition to warm lighting as evening approaches
- 10:00 PM: Bedtime scene activates (red/amber lights only)
- 11:00 PM: All lights turn off
Weather-Based Automations:
- Rain detected: Outdoor lighting increases for safety visibility
- Sunny day: Automatic brightness reduction to save energy
- Cold temperature: Warm lighting activated to create cozy atmosphere
- Hot temperature: Cooler lighting for refreshing environment feel
Activity-Based Automations:
- Work from home starts: Cool white lighting in home office, warmer elsewhere
- Exercise starts: Bright white lighting in gym area, energizing colors
- Cooking starts: Bright kitchen lights, task lighting on counters
- Dinner time: Warm dining room lighting, dimmed kitchen lights for ambiance
Energy Savings and ROI Analysis
Understanding the financial benefits of smart lighting helps justify the investment.
LED Efficiency Comparison:
- Traditional incandescent: 15 lumens/watt, 60W for typical brightness
- CFL: 60 lumens/watt, 15W for equivalent brightness
- Smart LED: 80-100 lumens/watt, 10-12W for equivalent brightness
- Savings: Smart LEDs use 80% less energy than incandescent, 25% less than CFL
Real-World Savings Calculation (Average Home):
- 40 light fixtures (average home size)
- 4 hours daily use
- Incandescent baseline: 60W × 40 × 4 hours × 365 days = 35,040 kWh/year
- Smart LED alternative: 10W × 40 × 4 hours × 365 days = 5,840 kWh/year
- Annual energy savings: 29,200 kWh × $0.14/kWh = $4,088/year
Smart Automation Savings (Additional):
- Motion-based activation: 15-20% additional savings (lights off when rooms unoccupied)
- Scheduling optimization: 10-15% additional savings (lights off during sleeping hours)
- Dimming during day: 5-10% additional savings (reduced brightness when natural light sufficient)
- Total additional savings: 30-45% of LED baseline = $1,232-$1,840/year
5-Year ROI Example:
- Initial investment: Hue Bridge ($100) + 20 smart bulbs ($400) + installation ($0-200) = $500-700
- Annual operational savings: $5,300 (LED + automation)
- 5-year total savings: $26,500
- Simple payback period: 1 month
- 5-year net savings: $25,800
Brand Comparison Beyond Philips Hue:
While Philips Hue dominates the market, other excellent options offer different benefits.
Philips Hue (Premium Choice):
- Strengths: Widest compatibility, most reliable, largest accessory selection, strong hub technology
- Weaknesses: Highest price point, subscription features in newer models
- Best for: Users wanting the most reliable, feature-rich system regardless of cost
Govee (Budget Choice):
- Strengths: Lowest cost, music-reactive effects, large product ecosystem, colorful designs
- Weaknesses: Occasional connection reliability issues, less mature ecosystem, limited third-party integrations
- Best for: Budget-conscious users, accent lighting, color effects without premium pricing
LIFX (No-Hub Choice):
- Strengths: No hub required, direct cloud control, fast response, good HomeKit support
- Weaknesses: More network congestion with many lights, occasional cloud service issues
- Best for: Users wanting simplicity without hub maintenance
Lutron Caseta (Switches Focus):
- Strengths: Works without neutral wires, excellent dimming quality, reliable switches, good automation
- Weaknesses: Limited color options, fewer smart bulb choices, higher switch prices
- Best for: Whole-home dimming, existing fixture control, older homes without neutral wires
Nanoleaf (Design Focus):
- Strengths: Stunning design panels, modular expansion, immersive lighting effects, excellent HomeKit integration
- Weaknesses: Very expensive per square foot, limited functional control options, more design than utility
- Best for: accent walls, gaming setups, design-first installations
Advanced Setups & Ideas:
- Smart Switches vs. Bulbs: Use switches for whole-room control; bulbs for color and individual automation. The Kasa Smart Light Switch HS200P3 provides reliable on-off and dimming control for standard fixtures, while the Kasa Smart Light Bulb KL135 offers color-changing capabilities at an affordable price point.
- Outdoor & Security Lighting: Try smart PIR lights or smart bulbs-great for driveways or garden lighting. For monitoring entry points, the Blink Mini 2 provides low-cost indoor security camera coverage with integrated lighting triggers.
- Control Interfaces: The Philips Hue Dimmer Switch offers wireless control without rewiring, making it perfect for retrofitting existing fixtures with smart dimming capabilities. For ZigBee-based systems, the Orvibo Dimmer Switch provides seamless integration with Zigbee networks and supports Matter protocol for future-proof smart home compatibility.
- DIY or Professional? DIY suits tech-savvy users who want to save money, while pros offer safety and reliability.
- Visual & Technical SEO Tips: Use HowTo schema, alt-text-rich images, optimized filenames (like
diy-smart-home-lighting-installation.jpg), and step-by-step visuals to boost visibility.
Troubleshooting Smart Lighting Issues
Even well-installed smart lighting systems occasionally encounter problems. Here's how to resolve common issues.
Lights Won't Pair or Appear Offline:
- Move the light closer to the hub/bridge temporarily
- Restart the hub by unplugging for 30 seconds
- Factory reset the bulb (hold power button 10-15 seconds until blinking)
- Verify hub firmware is updated to latest version
- Check that you're pairing in the correct app for your brand
- Try pairing at a different time (sometimes servers have issues)
Voice Commands Not Working:
- Verify voice assistant is properly linked to your lighting app
- Check that light names are clear and unique (no duplicate names)
- Test the light control in the app first (rules out voice recognition)
- Disable and re-enable the smart home skill/integration
- Ensure your light is in the same room/zone as the voice speaker
- Try the full name: "Alexa, turn on kitchen island light" (not just "light")
Lights Won't Respond/Are Slow to React:
- Check Wi-Fi signal strength in the room (move closer to router)
- Restart your Wi-Fi router
- Reduce the number of devices on your network
- Move hub away from other electronics causing interference
- Check if firmware update is available for the light or hub
- Verify your internet speed is adequate (at least 10 Mbps recommended)
Lights Keep Disconnecting:
- Move hub to a more central location with better signal distribution
- Separate the 2.4 GHz and 5 GHz Wi-Fi networks (some lights only support 2.4 GHz)
- Reduce the number of smart lights connected to Wi-Fi (30+ can cause congestion)
- Check if your router is overheating (place in well-ventilated area)
- Consider upgrading to a mesh Wi-Fi system if you have large home
- Verify router is not hiding behind large metal objects
Automations Not Triggering:
- Check that automation is enabled (sometimes automations accidentally get disabled)
- Verify the time zone is correct in your app
- Test with a simple manual trigger first to confirm the light works
- Check that conditions are actually being met (presence, time, etc.)
- Restart the hub and try again
- If using multiple smart home systems, verify the automation is in the right app
Color Not Appearing Correct:
- Calibrate the color in your app's settings
- Try adjusting color via the app first (eliminating voice command confusion)
- Some bulbs take 2-3 seconds to change color (wait longer)
- Check that the bulb actually supports colors (some "white" bulbs don't)
- Update the bulb firmware which sometimes improves color accuracy
- Natural light in the room may affect perceived color (test in evening)
Dimming Not Working Smoothly:
- Some lights have a minimum brightness (5-10%) below which they won't dim
- Verify the app's slider is actually moving the light (rules out app issues)
- Check that the light supports dimming (some color bulbs are dimmable, some aren't)
- Try a factory reset if dimming becomes erratic
- Update hub/bridge firmware for improved dimming smoothness
- Avoid very cheap switches with smart lights (they may interfere)
Hub/Bridge Not Connecting to Internet:
- Verify your Wi-Fi network has internet (other devices connecting fine?)
- Restart your modem and router
- Check that hub is using correct Wi-Fi password
- Forget the network on hub and reconnect
- Check app account is properly logged in and verified
- Verify no firewall rules are blocking the hub from communicating
Scenes Not Activating Properly:
- Test each light individually first (verify they work)
- Check that all lights in the scene are powered on
- Recreate the scene from scratch (sometimes they get corrupted)
- Verify you're activating the correct scene name
- Check if any automations are overriding the scene
- Clear app cache and try again
FAQs: Quick Answers on Smart Home Lighting Installation
Can I install smart lights without a hub? Yes-Wi-Fi and Bluetooth bulbs work alone, but a hub gives better range, stability, and advanced automation. For homes with more than 10-15 lights, a hub is strongly recommended.
Are smart switches a better choice than bulbs? Switches control whole fixtures and work with regular bulbs; bulbs offer color and mood control. Choose switches for major light groups, bulbs for accent lighting and color effects.
Do smart lights really save energy? Absolutely-LED efficiency saves 80% versus incandescent. Add motion detection and scheduling for another 30-45% savings. Most homes see complete payback within 1-3 months.
Is outdoor smart lighting practical? Yes-motion-activated and smart bulbs work well outdoors for security and aesthetics. Choose weather-rated products and provide adequate power sources.
How many lights can one hub support? Philips Hue Bridge supports 63 lights and 12 accessories. Most other brands support 20-50 lights per hub. Check your hub's specifications before exceeding limits.
Conclusion
Your smart home lighting installation is more than swapping bulbs-it’s about creating a more efficient, secure, and personalized lighting experience. With this guide, you're not just installing-you’re building smart living.