
Getting started with Home Assistant can be exciting but also smooth and less overwhelming if you're new to smart home technology. This essential setup guide covers the first 10 things to configure in Home Assistant to help you build a reliable and efficient home automation system quickly. Knowing these crucial initial steps will get your smart devices talking and your home responding intelligently.
The 10 Essential Home Assistant Configurations
Complete the Initial Setup Wizard The very first step is completing the initial setup wizard when you open Home Assistant at
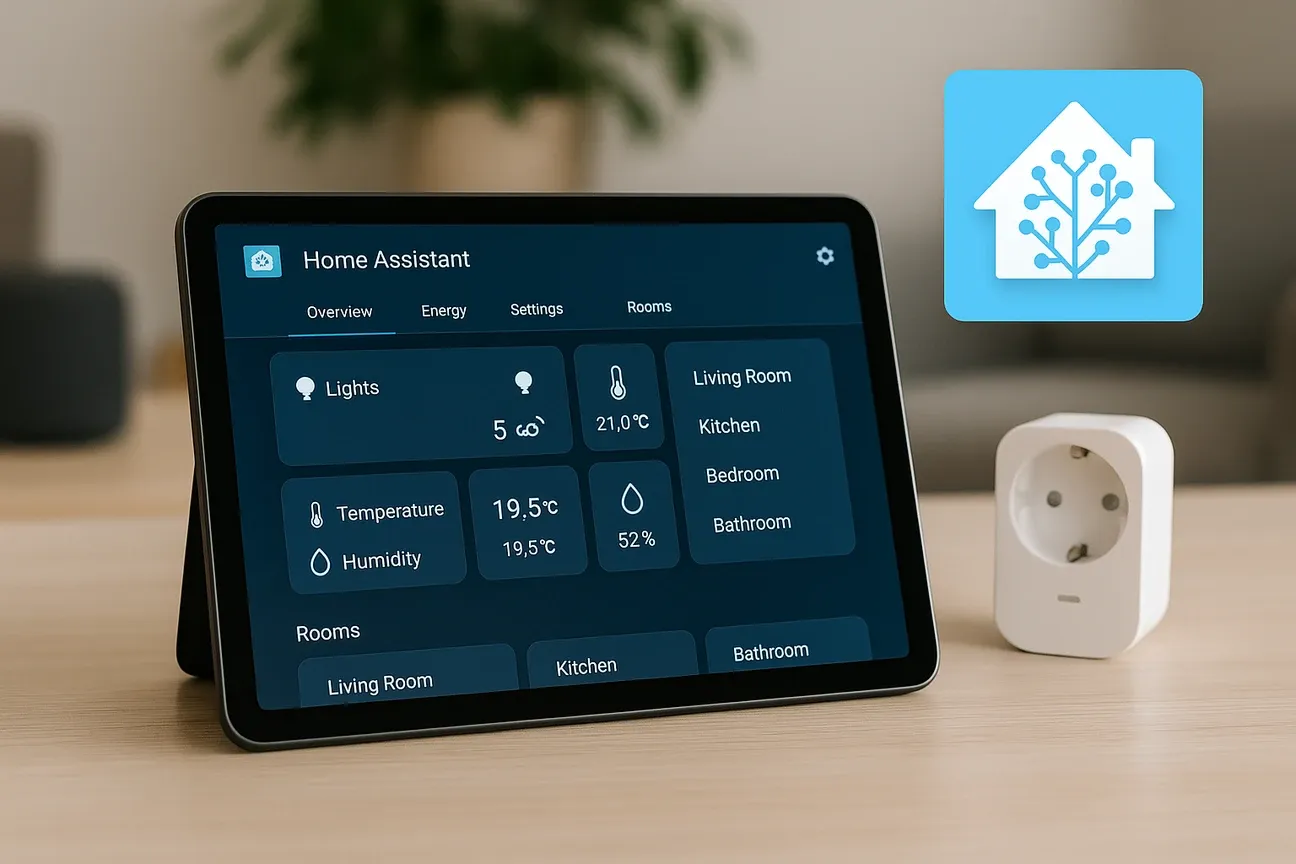
http://[IP address]:8123. The wizard guides you through creating your administrator account and entering location details like latitude and longitude. This information is crucial for accurate climate control and automation based on your local time zone and weather conditions.Add All Your IoT Devices Automatically After setup, Home Assistant automatically scans your network for supported IoT devices such as smart bulbs, plugs, thermostats, and sensors. Confirm adding them to your dashboard to centralize control over devices from brands like Philips Hue, TP-Link Kasa, and more, right from the beginning.
Install the Home Assistant Community Store (HACS) HACS is a must-have integration that expands Home Assistant's capabilities by giving access to custom add-ons, themes, and integrations created by the community. After enabling SSH access, installing HACS opens the door to advanced automations and device support not included by default.
Install the Home Assistant Mobile Companion App Install the Home Assistant mobile companion app on your phone. This enables useful sensors like your location, battery status, and motion detection. You'll get real-time notifications and can control your home from anywhere.
Set Up Additional User Accounts Set up other user accounts for family members to allow personalized control with separate logins. This ensures each person has their own preferences and automation access without interfering with others' settings.
Configure Your Preferred Units and Language Configure your preferred temperature sensor units (Celsius or Fahrenheit) and set your home's language preferences. These foundational settings apply across all devices and automations for consistency.
Activate Cloud or Local Backups Activate cloud or local backups for your Home Assistant configuration to easily restore or migrate your system. Regular backups protect your automation setup and device configurations.
Link Voice Assistants Link voice assistants such as Amazon Alexa or Google Assistant to control your smart home by voice commands. This adds hands-free convenience to your daily routines.
Create Basic Automations Dive into creating simple automations and scripts. Start with foundational automations such as turning on outdoor lights at sunset, adjusting the thermostat when nobody is home, or turning off lights when everyone leaves. Automations connect device states and events to actions for more convenient and energy-efficient operation.
Organize Your Dashboard Spend time organizing your dashboard with cards tailored for your most used devices for easy access. Customize the layout to match your daily routines and preferences so controlling your home becomes intuitive and seamless.
Why Configuring These First 10 Things Matters
Configuring these first 10 things in Home Assistant sets up a solid framework for your entire smart home experience. It ensures your devices are properly recognized, your account is secure, and your home can respond intelligently. Skipping these initial configurations can lead to fragmented control, missed automation opportunities, and frustration down the line.
By tackling the first 10 things to configure in Home Assistant, you empower yourself to add more complex integrations and automations confidently. This approach turns Home Assistant into a truly smart home brain that improves daily living with convenience and energy savings.
Expanding Your Smart Home Beyond the Basics
Once you have finished setting up the first 10 configurations in Home Assistant, you can explore additional features that make your system even more powerful. Many users start experimenting with energy monitoring, which allows you to track how much electricity your devices consume. By understanding your usage patterns, you can create smarter automations that reduce costs and support greener living. For instance, you might schedule heavy appliances to run only during off-peak hours.
Another area worth exploring is integration with smart security products such as cameras, alarms, and smart locks. These devices can work seamlessly with Home Assistant to provide alerts, video feeds, and automated actions when unusual activity is detected. Pairing motion sensors with outdoor lighting is a simple example that boosts both safety and convenience.
You may also want to personalize your dashboard further. Adding custom themes, icons, and widgets helps create an interface that feels smooth and easy to navigate for every member of the household. With the Home Assistant Community Store (HACS), customization options are nearly limitless, and you can find integrations for niche devices or advanced automations.
Finally, remember that Home Assistant is constantly evolving. Regular updates bring new integrations, improved stability, and expanded device support. Staying up to date ensures your system remains secure and ready to handle the latest smart home technologies. By continuing to build on the solid foundation created in your initial setup, you’ll unlock the full potential of a truly connected home.