
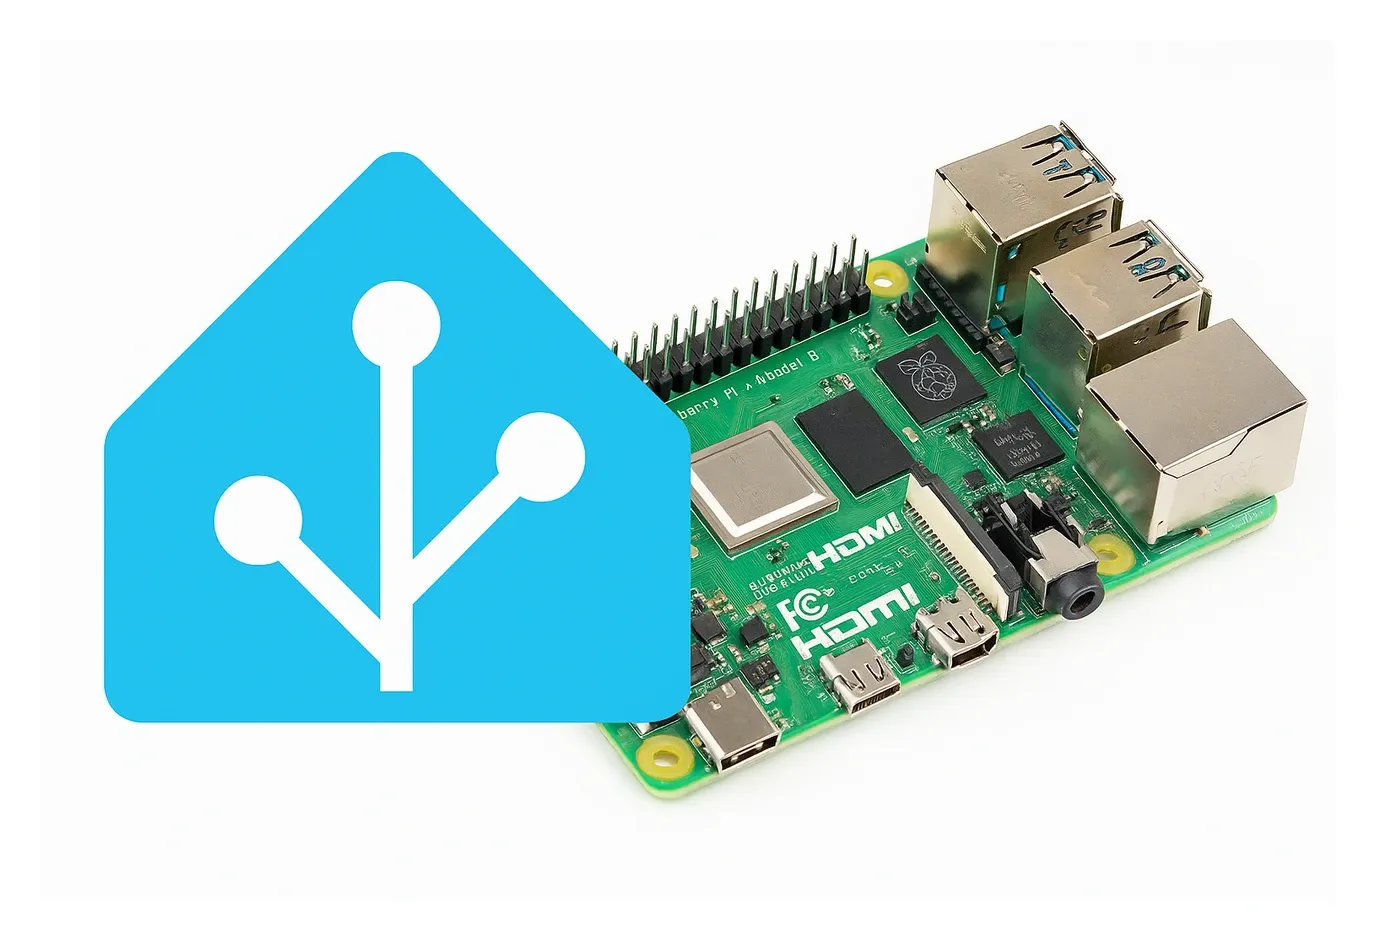
If you're looking to improve your smart home with a reliable automation system, setting up this popular open-source platform on a Raspberry Pi is a great first step. This guide walks you through the entire process in a clear and simple way.
You will:
- Prepare the operating system, a lightweight embedded platform designed for efficiency
- Set up your hardware correctly
- Get everything running on your single board computer
With a Pi 4 or 5 and a few basic tools, you can build a powerful smart home hub that manages all your IoT devices in one place.
Why This Setup Works Best
This recommended installation method delivers a stable and smooth experience on SBC (single board computer) hardware. The complete ecosystem is fully supported, and the operating system is specifically designed to run efficiently on compact boards. You stay connected with automatic updates managed by the Supervisor component.
Understanding the Key Components
Before installing, it's helpful to understand what you're working with:
- OS (HAOS): The embedded minimalistic operating system running on your Pi
- Core: The automation software running inside the OS layer
- Supervisor: Manages updates, add-ons, and system maintenance automatically
- Ecosystem: The complete platform with integrations, add-ons, and community support
This guide uses the OS installation method, specifically designed to run efficiently on single board computers. It provides the best experience with minimal configuration needed.
Essential Requirements for Your Setup
Before diving into the installation steps, make sure you have the necessary hardware and tools for a smooth setup:
- A Raspberry Pi 4 or Raspberry Pi 5 (recommended models for performance)
- A micro SD card with at least 32 GB storage capacity
- A reliable power supply for your board
- An SD card reader to flash the OS image onto the card
- An Ethernet cable for stable network connectivity, or a configured Wi-Fi network
- A computer to download and flash the operating system image
This recommended approach includes a lightweight OS designed to run efficiently on SBC hardware or virtual machines.
Why Application Class 2 SD Cards Matter
Application Class 2 (A2) micro‑SD cards are built for fast, small file operations. This matches the constant read and write activity performed by the system. Choosing an A2‑rated card keeps database writes snappy, shortens boot times, and greatly reduces the risk of SD‑card wear‑out over the lifespan of your hub. The official docs also recommend using a board with at least 2 GB of RAM, so plan your purchase accordingly.
Preparing Your SD Card with the OS
Download and install the official Imager tool from the Pi website. This utility writes operating systems onto SD cards easily.
Open the Imager application.
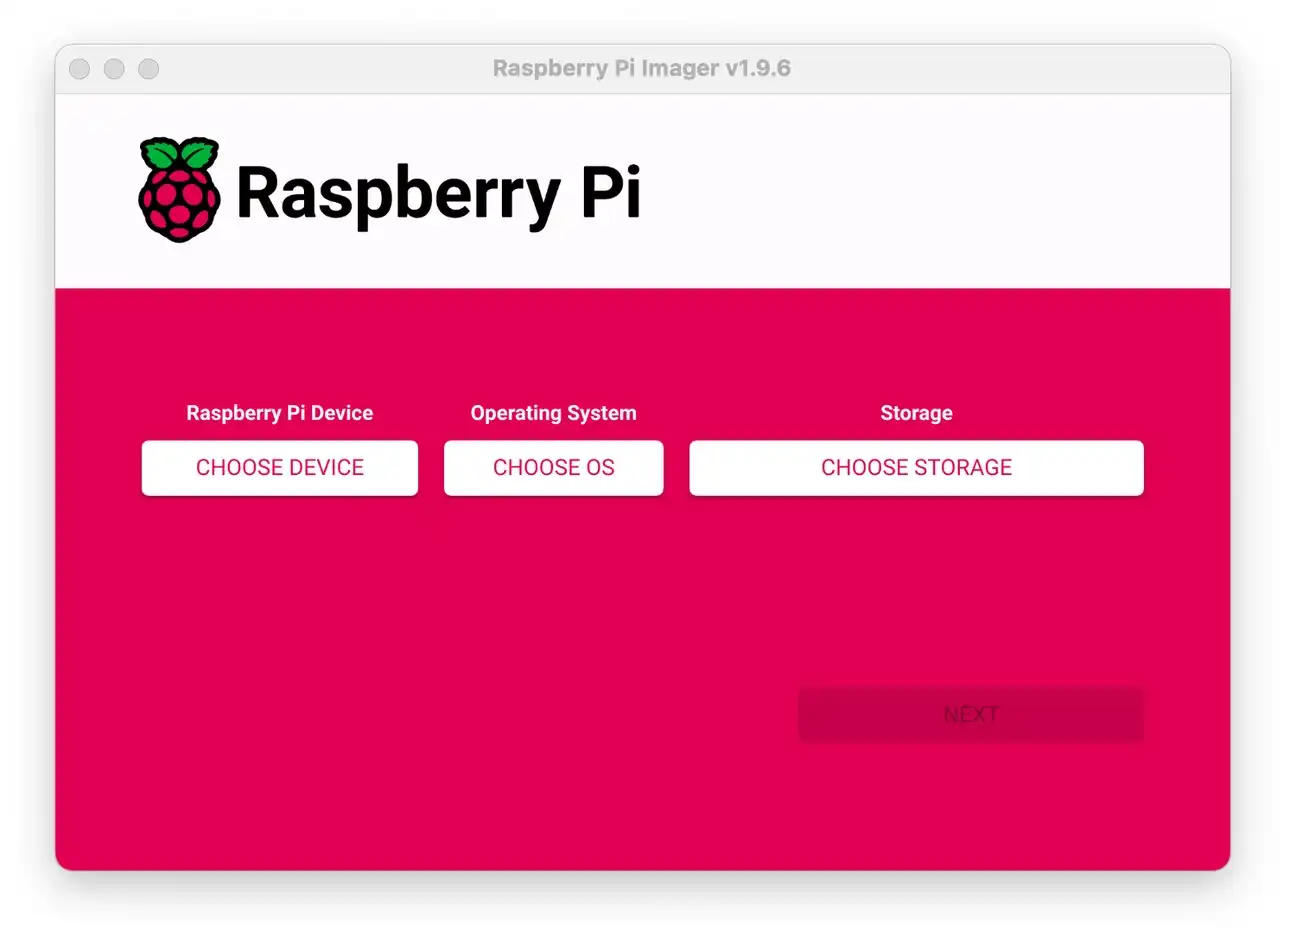
- Select your device.
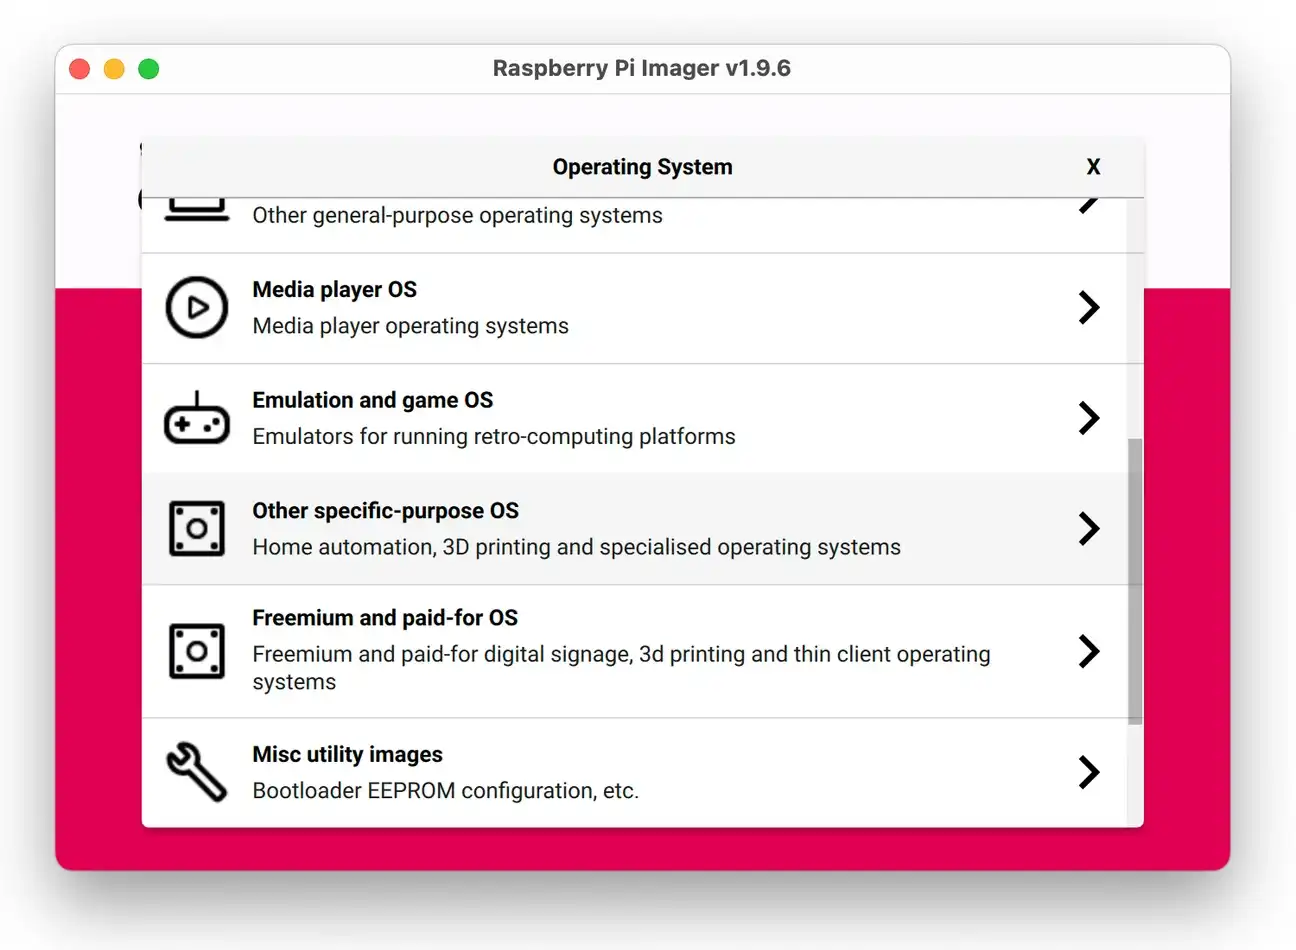
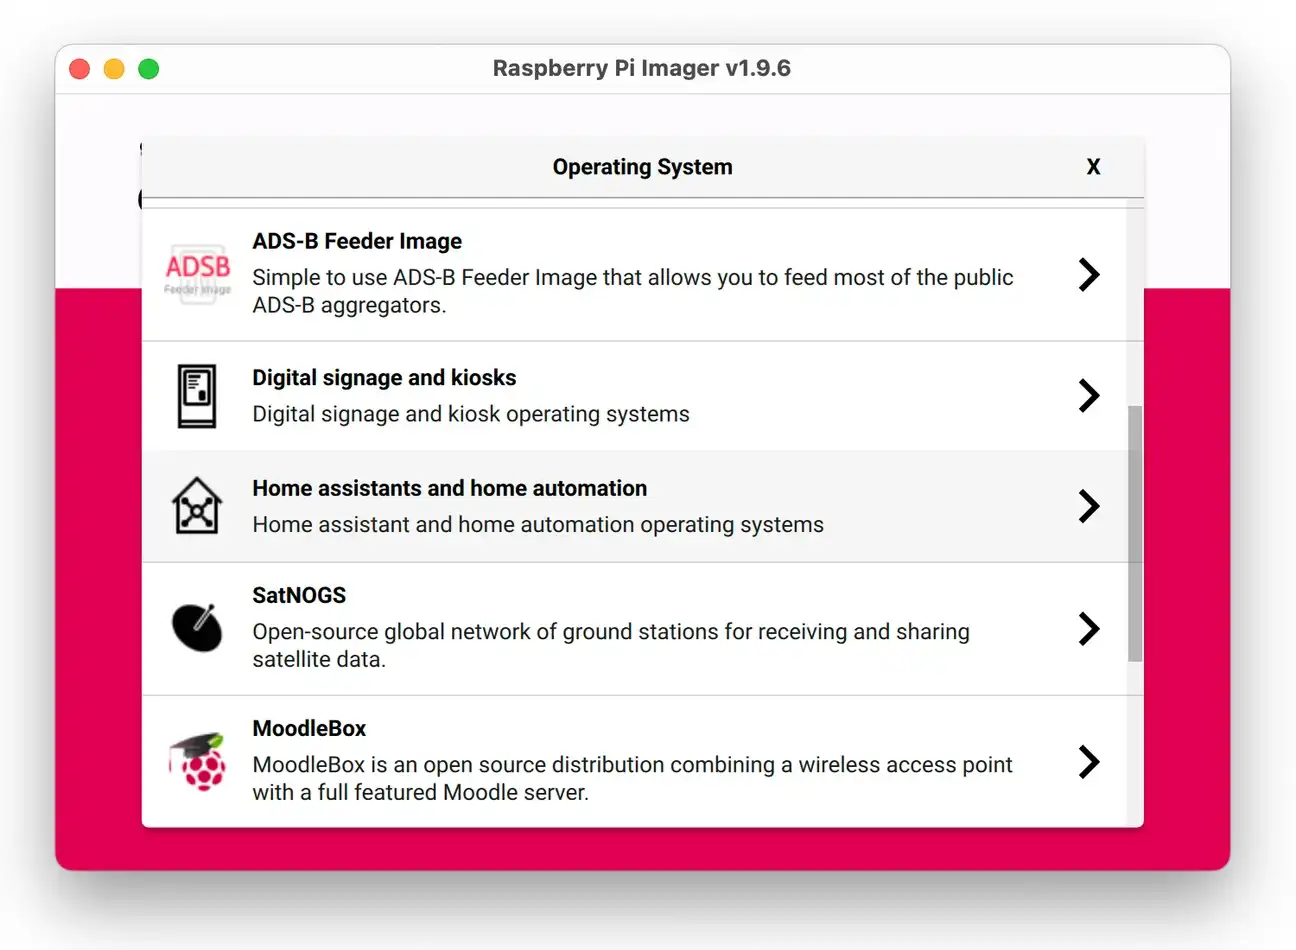
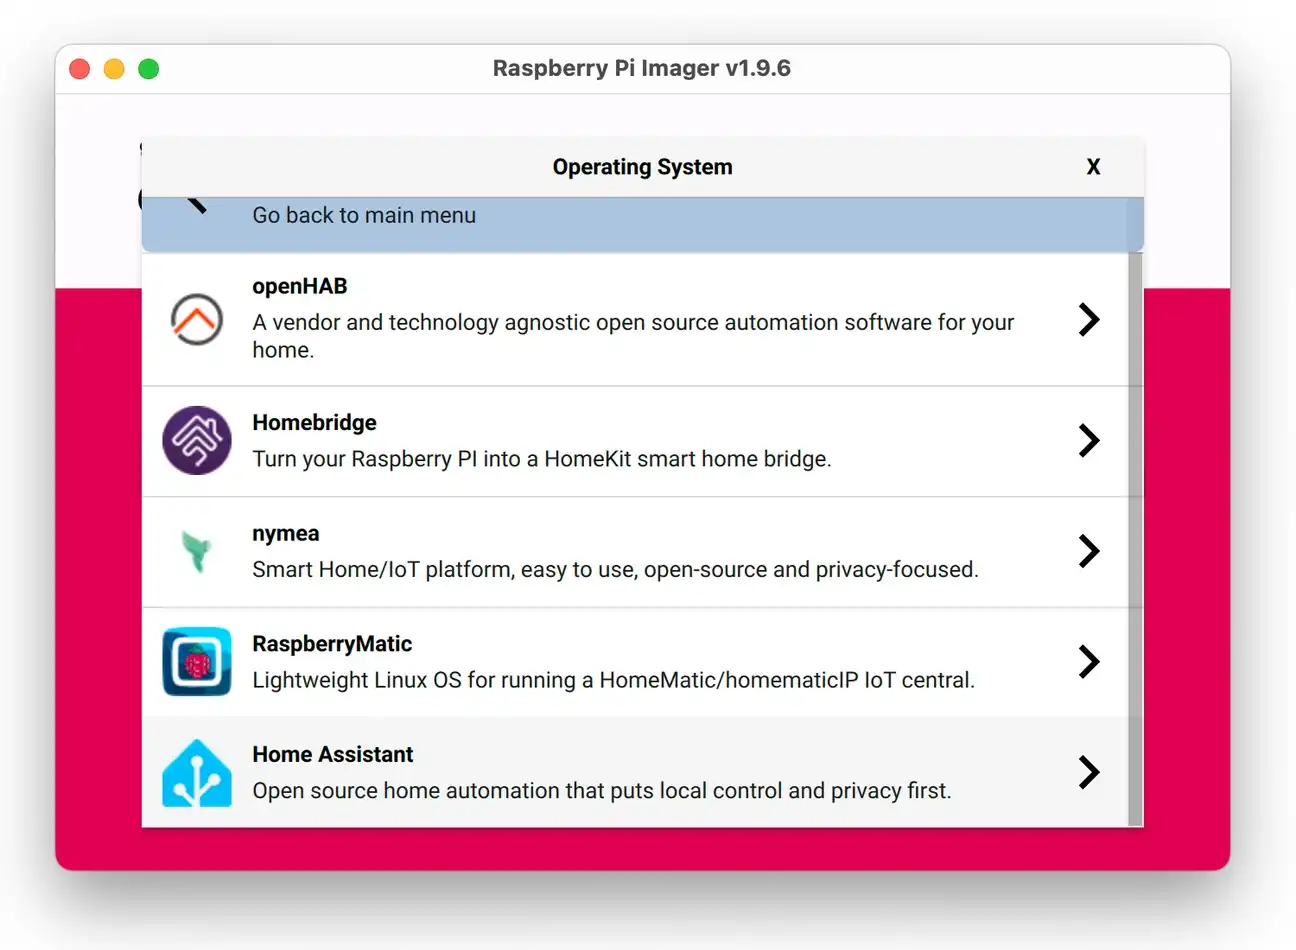
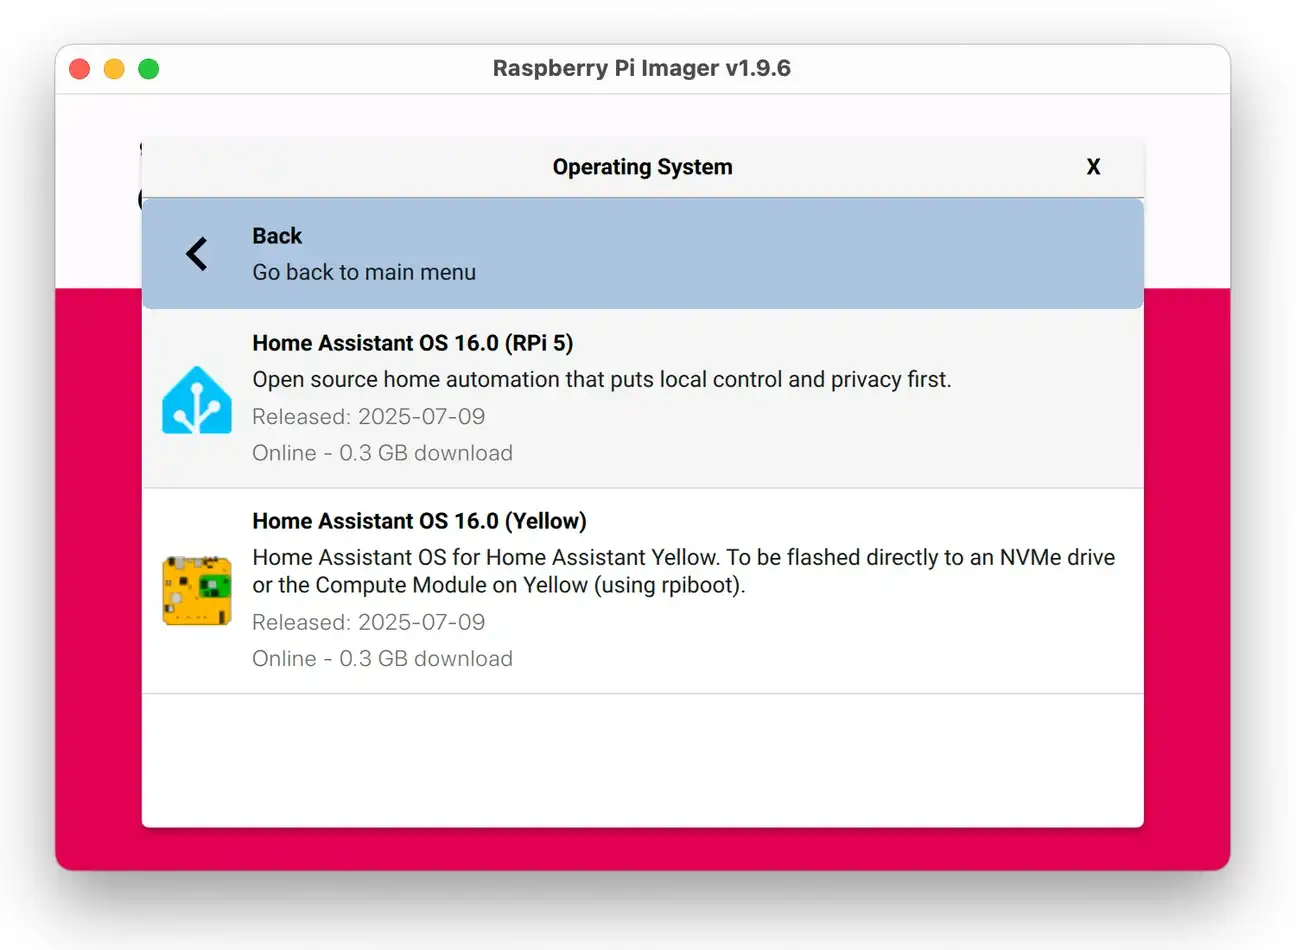
- In the Choose OS menu, go to Other specific-purpose OS > Home assistants and home automation. Then select the version that matches your board model.
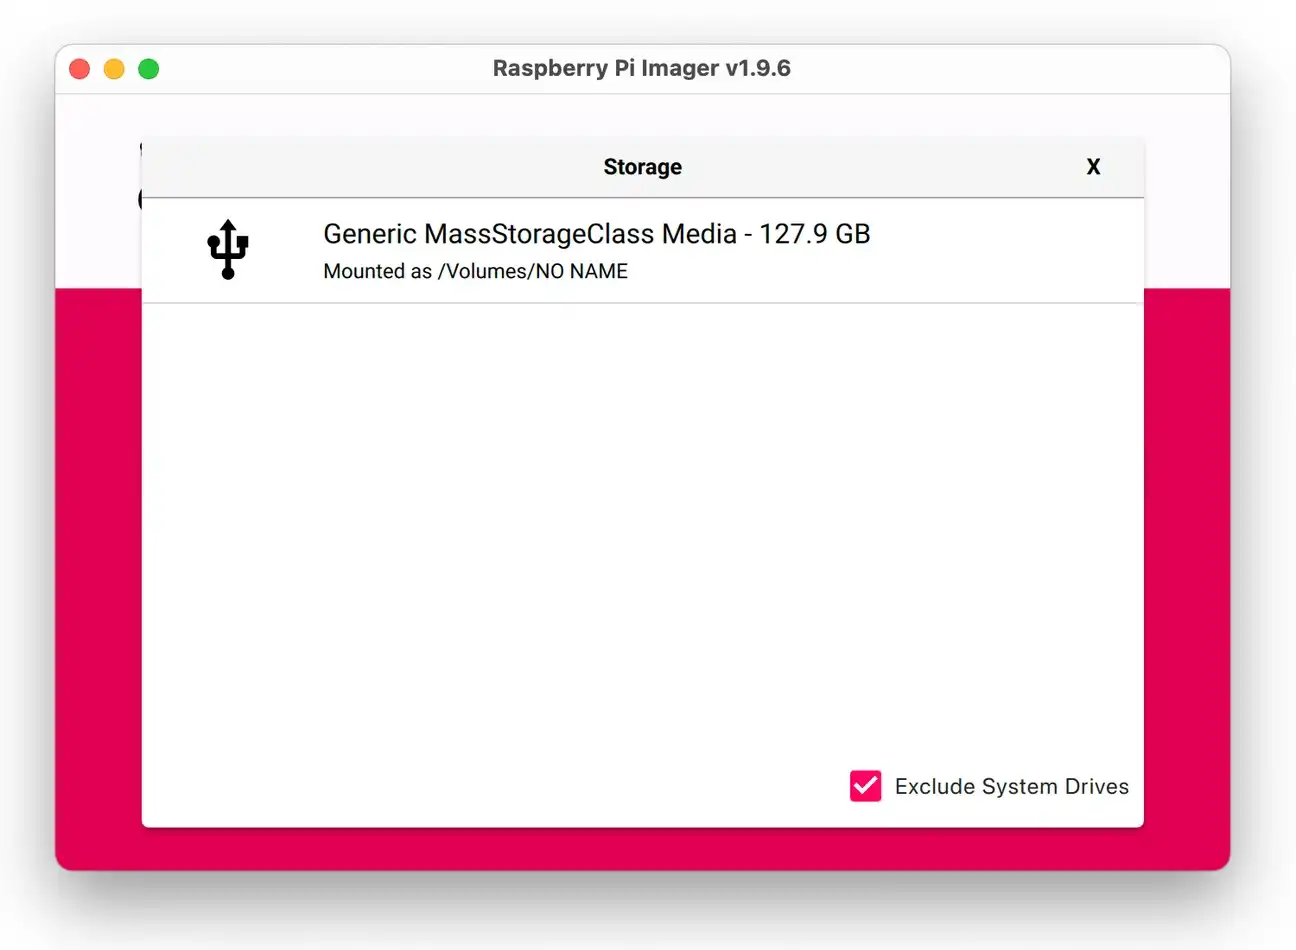
- Insert your micro SD card into the reader connected to your computer. Then select it under Choose Storage.
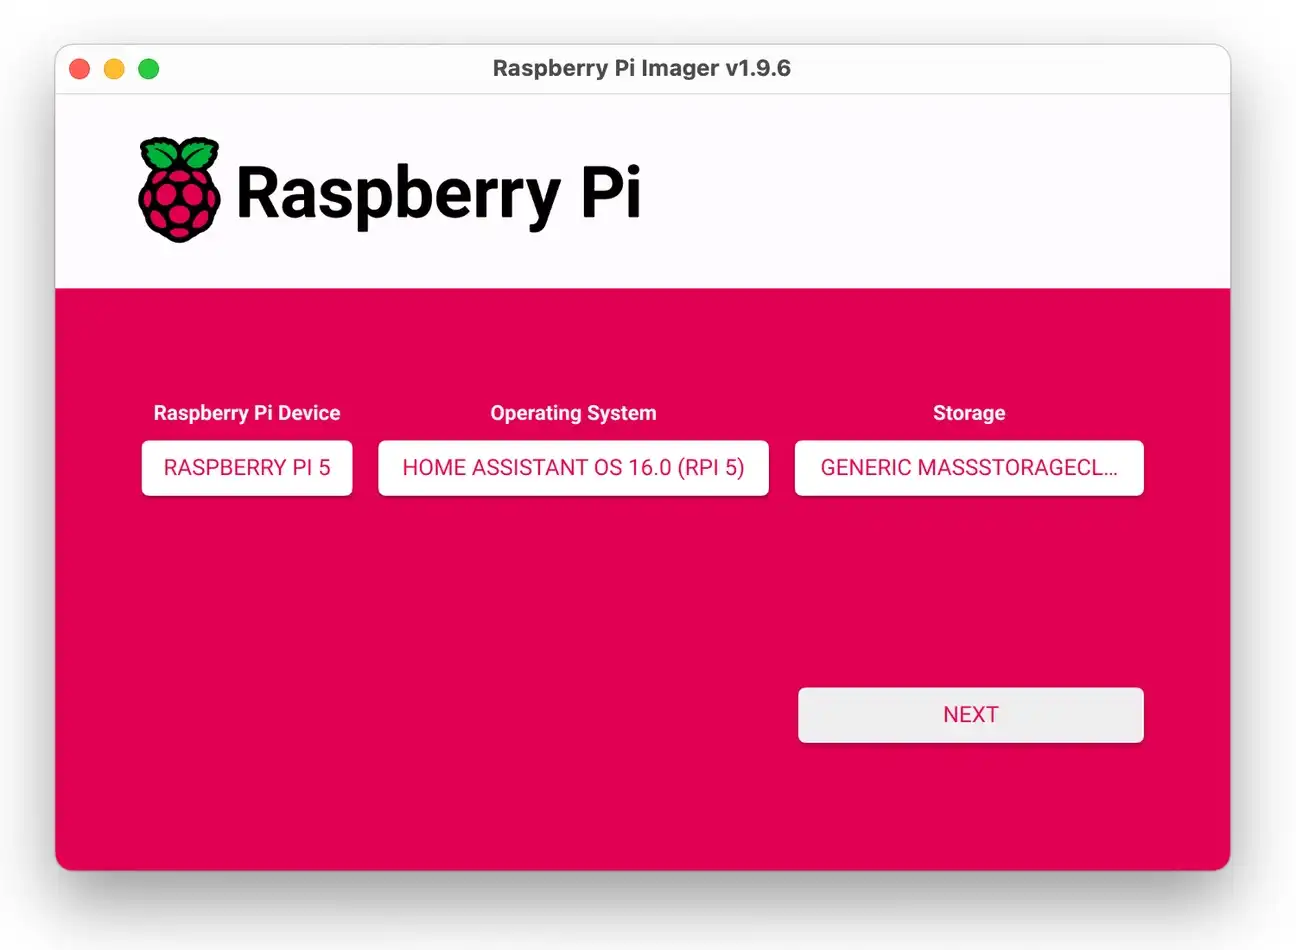
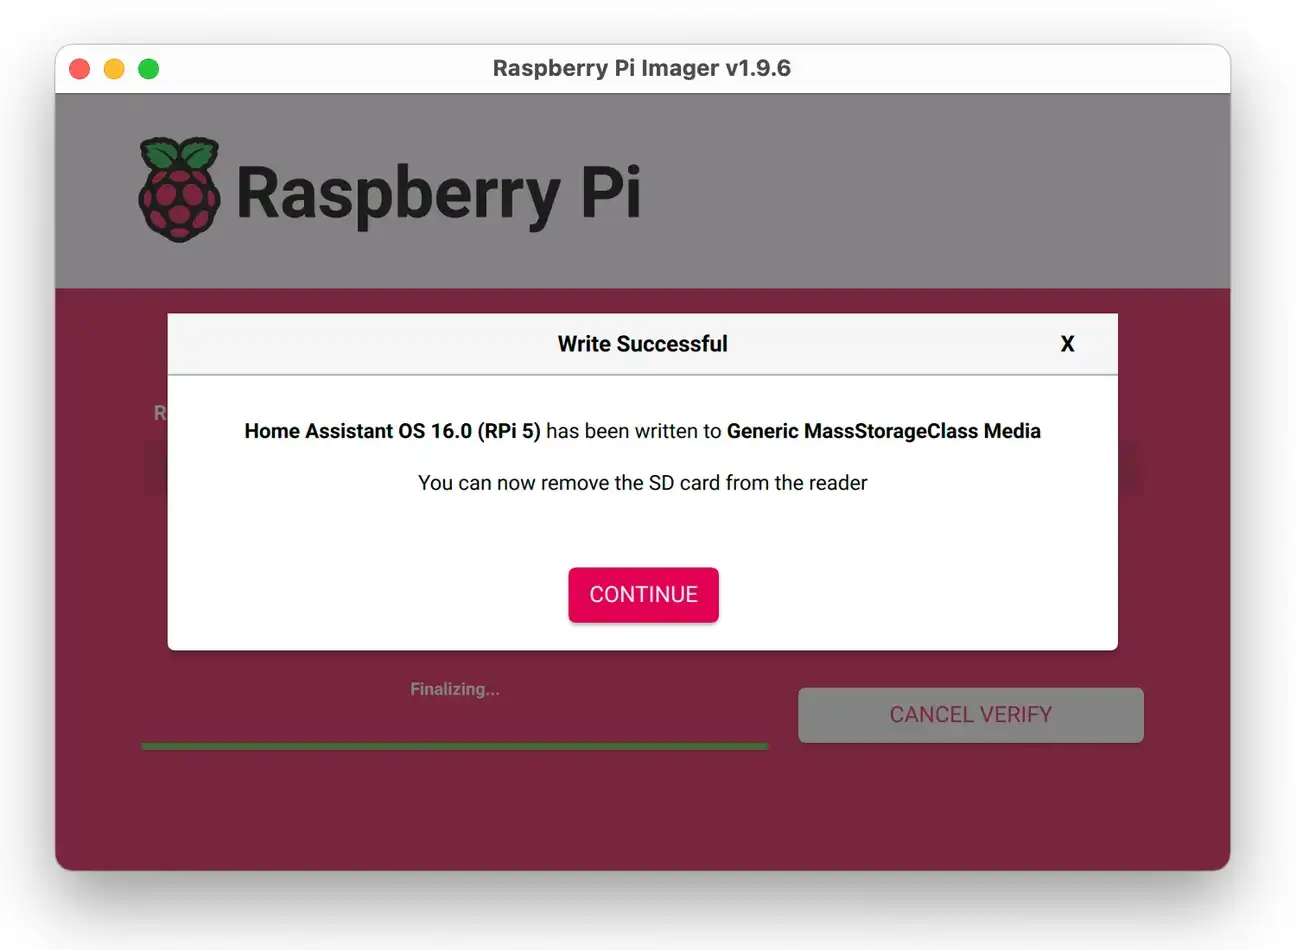
- Click Next to write the OS image onto the card. This will erase all existing data, so be sure to back up anything important.
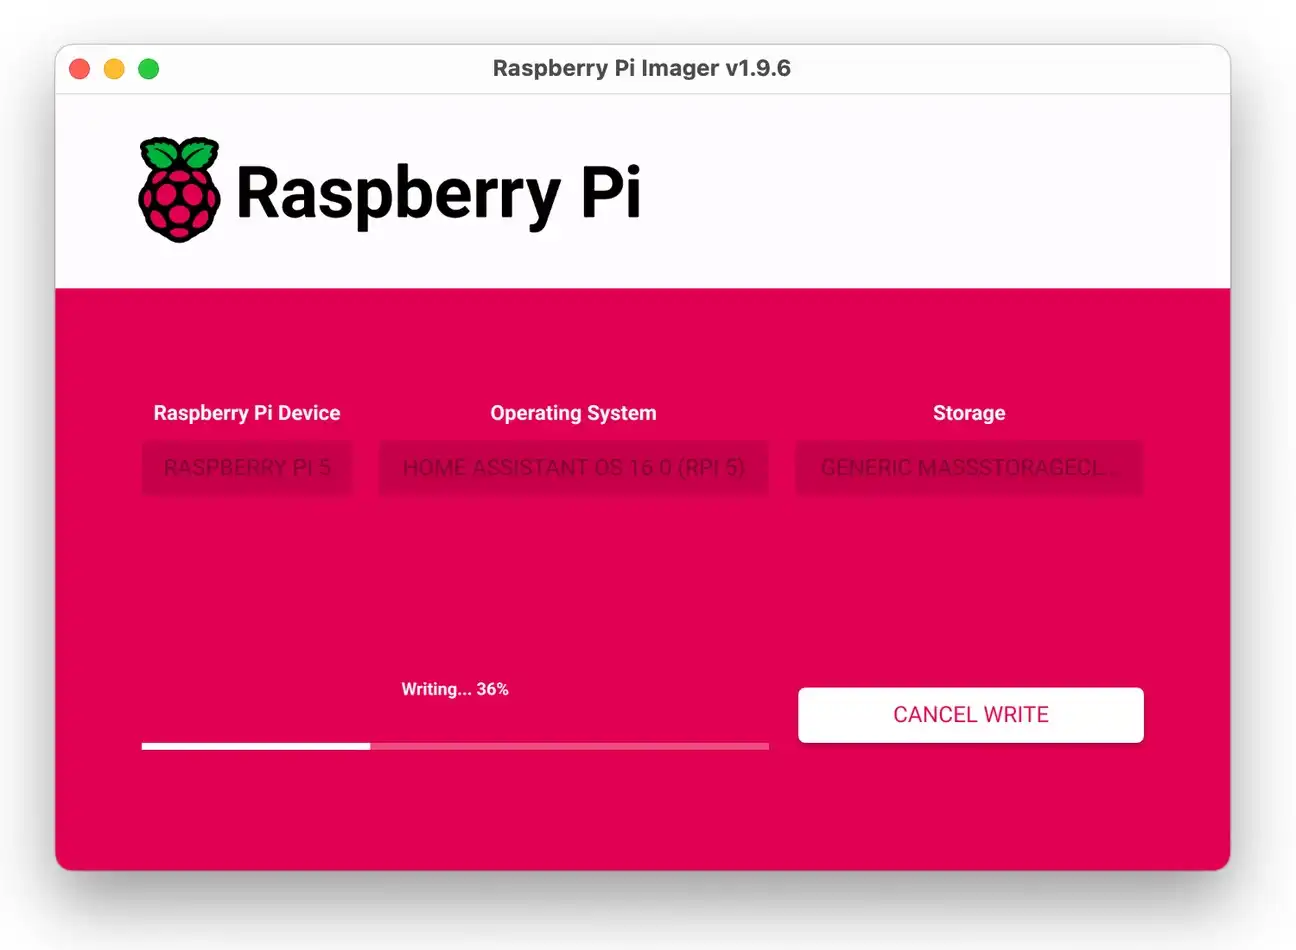
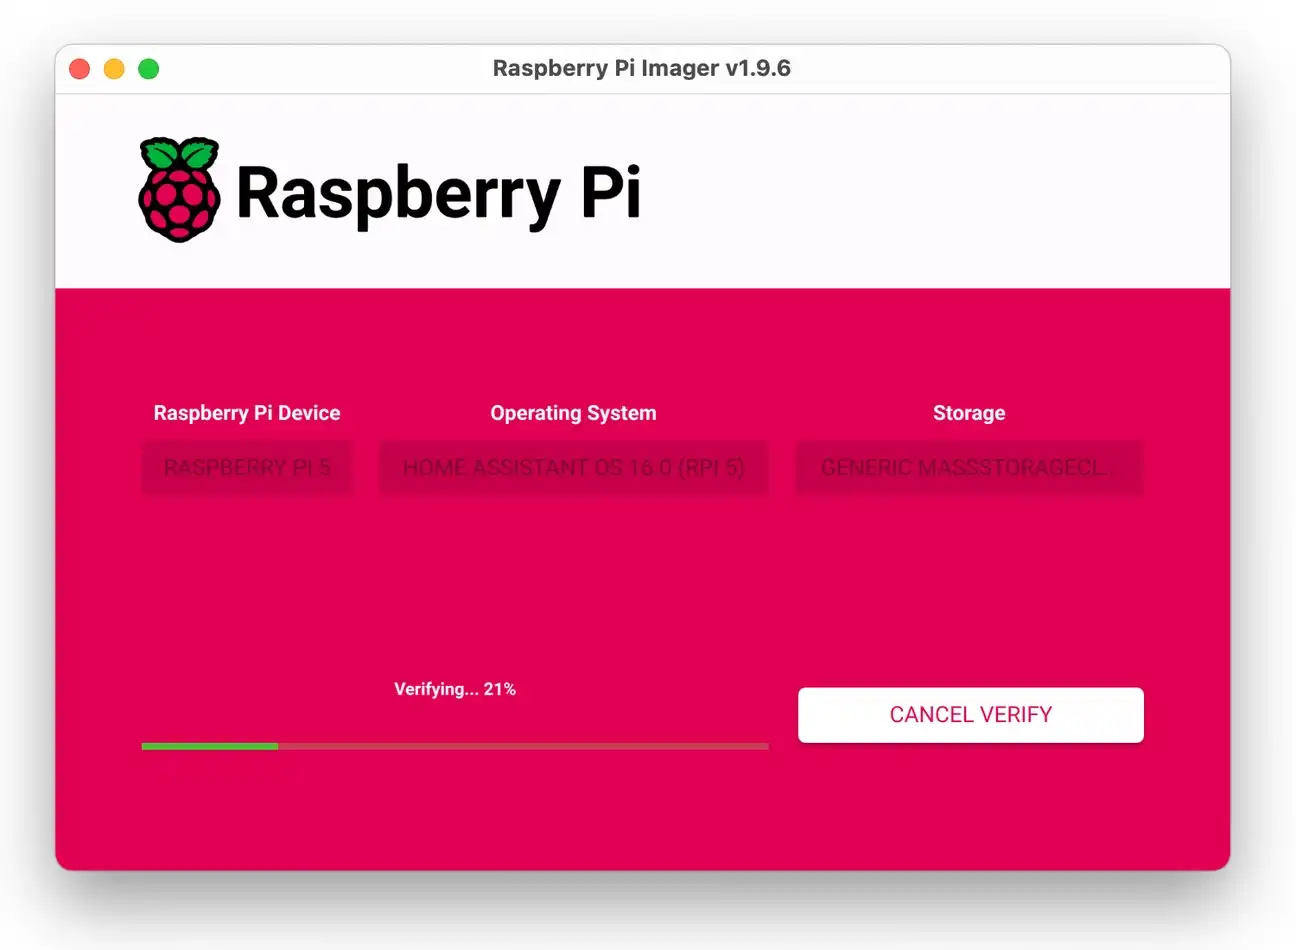
- When done, safely eject the card from your computer.
Alternative Flashing Methods and Direct Image Download
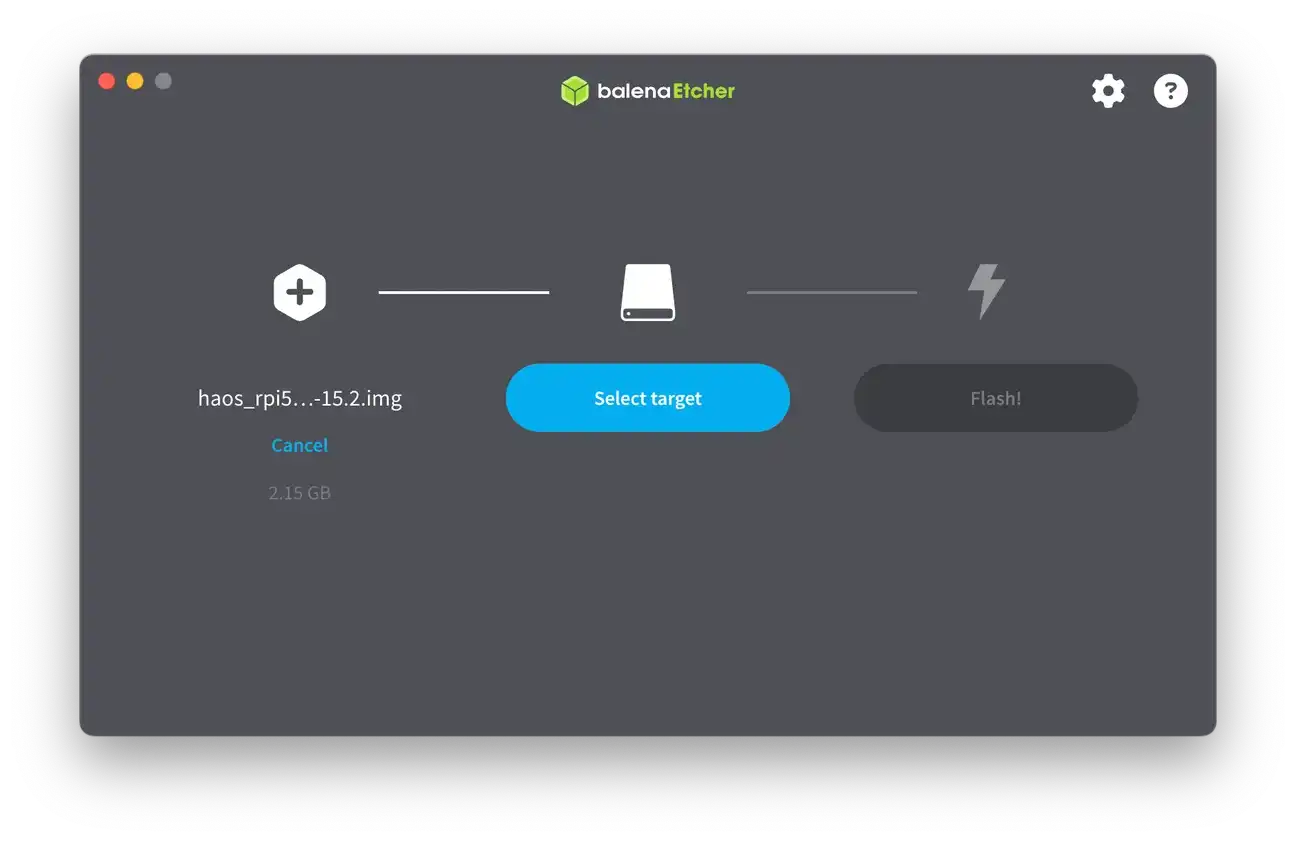
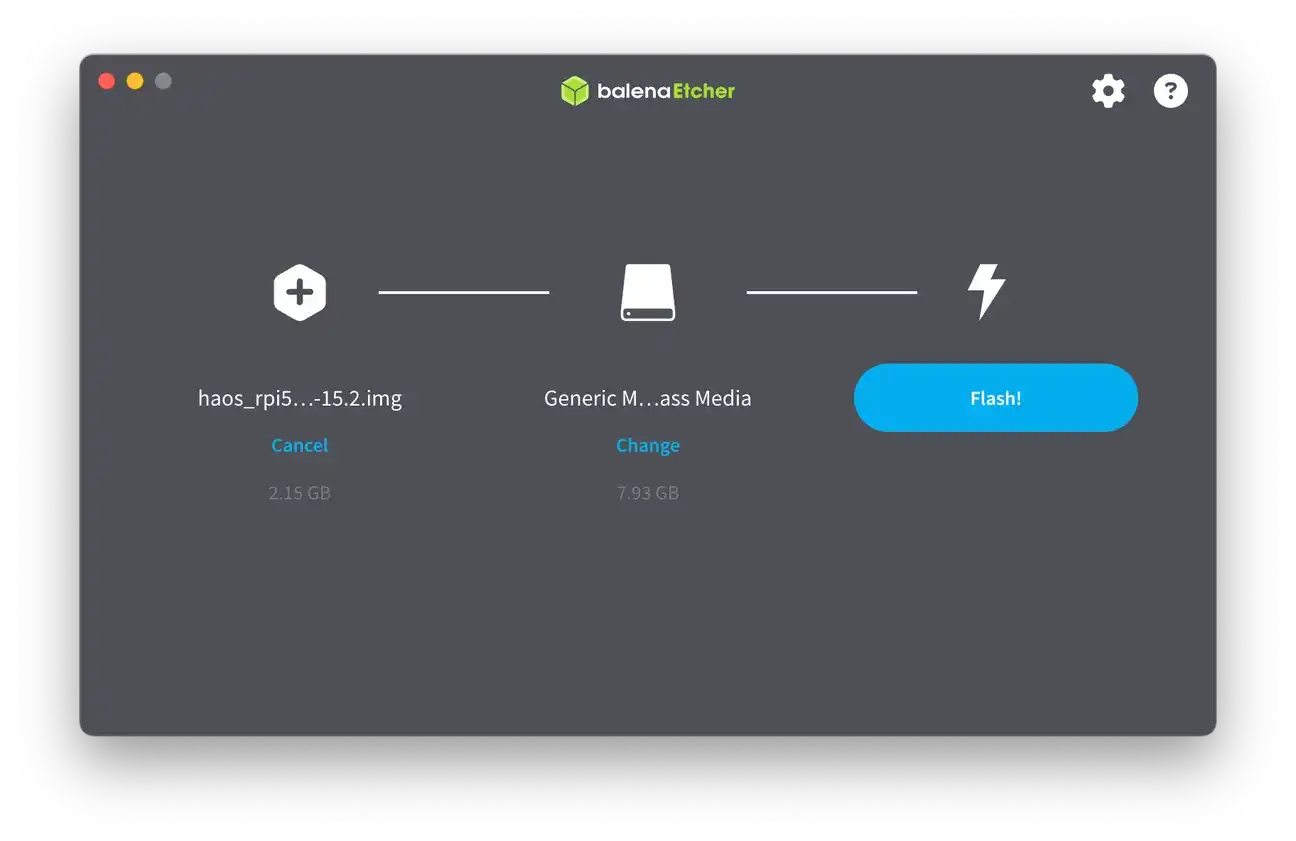
If you prefer a clean, manual install on a Pi 5, use the method below. Below you'll find a direct image download for version 15.2 and a simple Balena Etcher workflow.
Direct Image Download (Pi 5 • HAOS 15.2)
You can find all images in Github - https://github.com/home-assistant/operating-system/releases.
For example:
- Image (RPi 5):
haos_rpi5-64-15.2.img.xz - Checksum (SHA-256):
haos_rpi5-64-15.2.img.xz.sha256(a file integrity code to verify your download)
Tip: Balena Etcher can flash compressed
.img.xzfiles directly-no need to unpack.
What You'll Need
- A microSD card (16 GB minimum; 32 GB+ recommended, A2/U3 if possible)
- A card reader
- Balena Etcher (Windows/macOS/Linux)
- Pi 5 board, official USB-C power supply, and Ethernet (recommended for first boot)
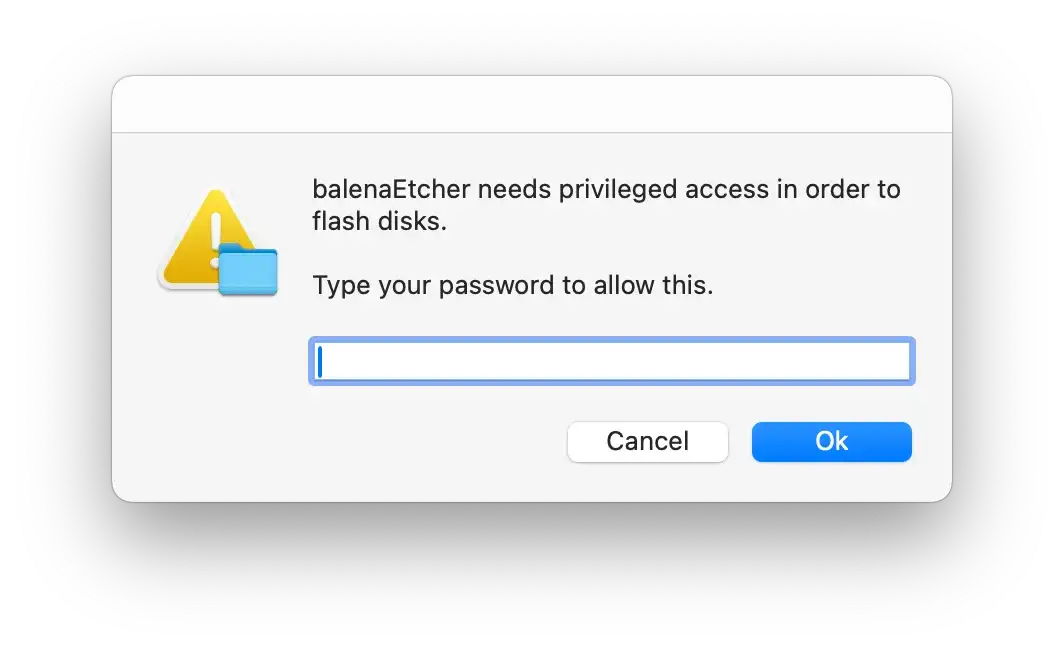
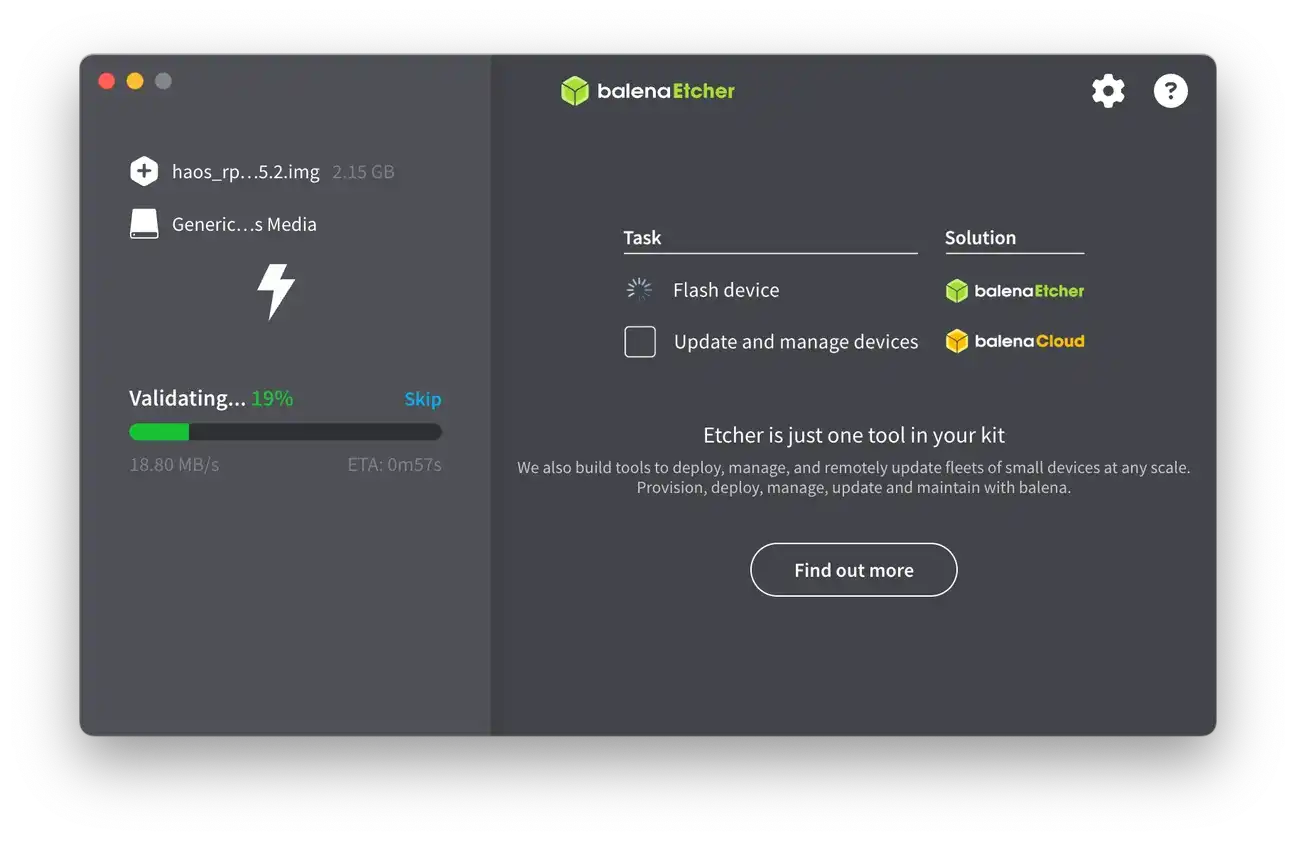
Step-by-Step: Flash with Balena Etcher
- Download the image: save
haos_rpi5-64-15.2.img.xzto your computer. - (Optional but recommended) Verify the checksum (file integrity code):
- Windows (PowerShell):
Get-FileHash .\haos_rpi5-64-15.2.img.xz -Algorithm SHA256 - macOS:
shasum -a 256 haos_rpi5-64-15.2.img.xz - Linux:
sha256sum haos_rpi5-64-15.2.img.xz
haos_rpi5-64-15.2.img.xz.sha256. They must match exactly. - Windows (PowerShell):
- Install and open Balena Etcher.
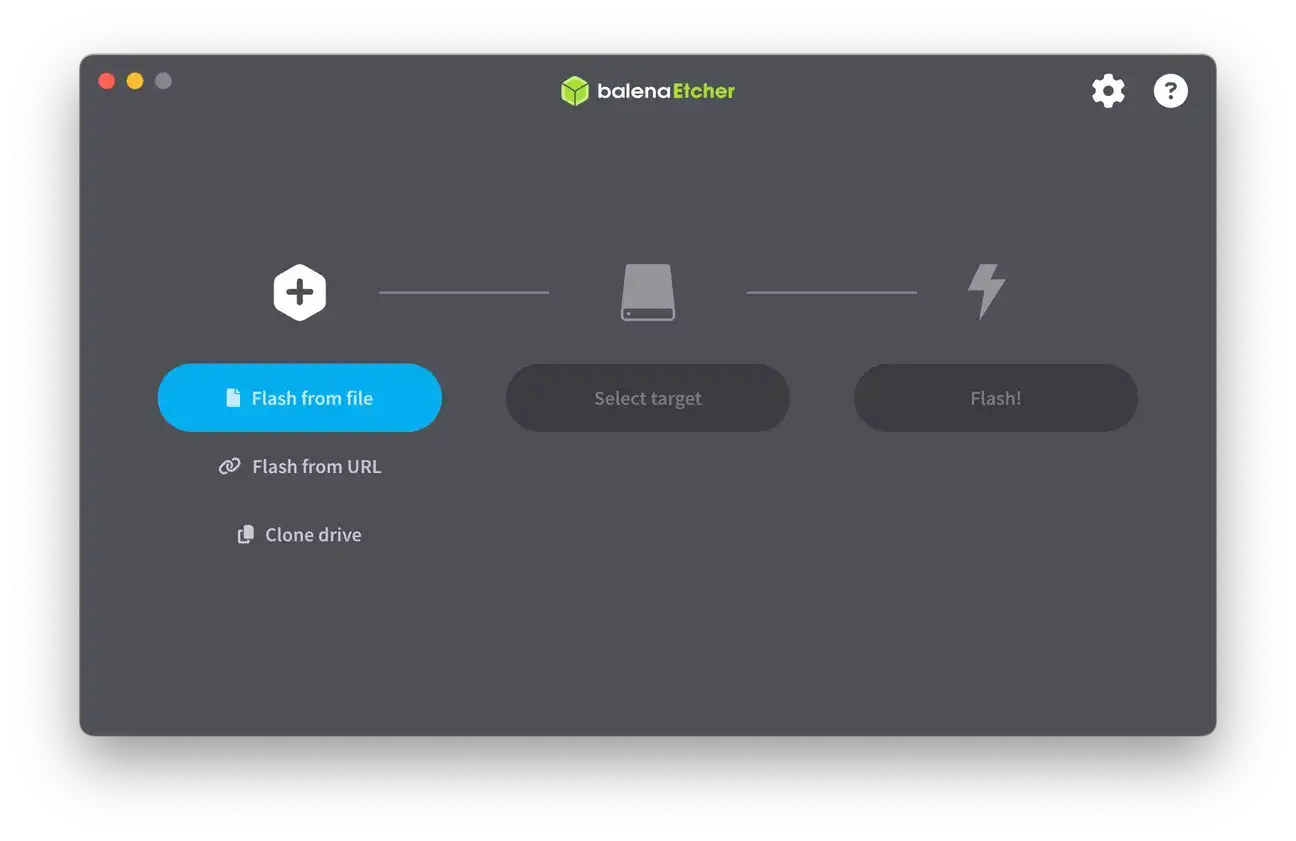
haos_rpi5-64-15.2.img.xz.


Assembling and Booting Your Device
After flashing the card, it's time to set up your hardware:
- Insert the flashed micro SD card into the slot.
- Connect the Ethernet cable to your board and router for a stable internet connection. You may also configure Wi-Fi later from the interface.
- Attach any optional accessories like a Zigbee dongle with a USB extension cable if you plan to include non-Wi-Fi smart devices.
- Plug in the power supply to boot the system. The device will load the lightweight OS ensuring best performance on your SBC.
You don't need to connect a monitor or keyboard for the initial setup because the platform runs headlessly. The first boot may take a while, so be patient.
Accessing Your New Automation Hub
- Open a web browser on your computer or smartphone connected to the same network.
- Go to
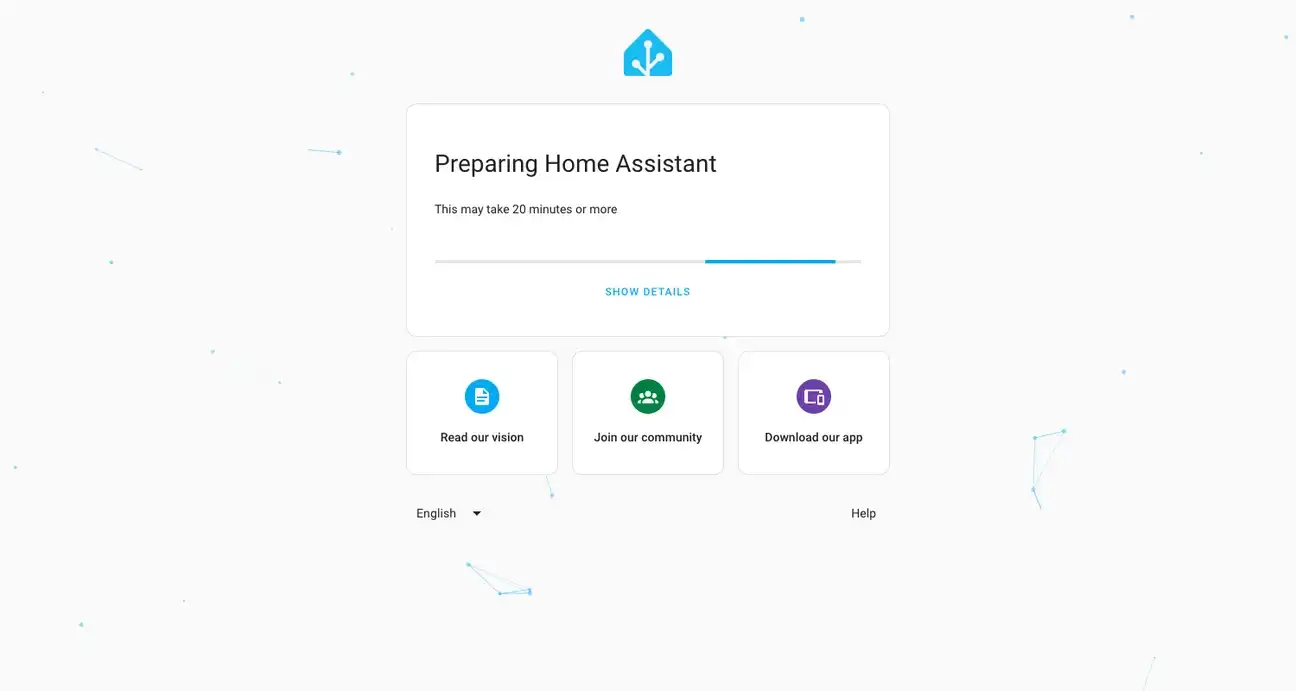
http://homeassistant.local:8123or use your Pi's IP address followed by:8123. - The first boot can take up to 20 minutes while the system configures itself. Please be patient.
- After setup, you will be asked to create a user account. Remember your login details carefully. They are essential for future access and cannot be recovered if lost.
Key Benefits of This Setup
Installing the automation platform on your single board computer transforms your Pi into a highly customizable smart home hub. The ecosystem offers powerful benefits:
Central Control & Integration: Control all your smart devices from one interface, including lights, thermostats, cameras, and sensors. Full compatibility with Zigbee, Z-Wave, Wi-Fi, and other protocols across brands. Advanced features like built-in backups and restore capabilities.
Automation & Efficiency: Create smart automations to improve your home's energy efficiency and convenience. Local control without cloud dependency means faster responses and better privacy. Reduce energy waste with intelligent scheduling and presence detection.
Professional Management: Regular security updates and feature releases managed automatically. OS-level maintenance handled transparently for you. Support for advanced add-ons like Google Assistant, Amazon Alexa integration, ESPHome, and more. Access to hundreds of community integrations and plugins.
Tips to Optimize Your Experience
- Use a high-quality micro SD card and back up your configuration regularly to avoid data loss.
- Use a case with a heat sink to keep your board cool during long use.
- Explore automation scripts to customize your home environment based on presence, time, or sensor data.
Troubleshooting Common Installation Issues
If you have problems during installation or operation, try these quick fixes:
- Make sure the SD card is flashed correctly with the recommended image for your model.
- Check that your network connection is stable. Wired Ethernet is best for the initial setup.
- Verify your power supply is adequate. Low power can cause boot failures.
- Visit official forums and community resources for device-specific advice and solutions.
Problems with Installing Version 16 on Pi 5
While version 16 has exciting features, users installing it directly on the Pi 5 have reported issues. These include incomplete driver support, some add-ons failing to load, and compatibility problems during boot. Sometimes, the installation freezes or the web interface becomes unreachable after the first boot. This makes setup frustrating.
The Pi 5's hardware drivers and kernel optimizations are still being improved for the latest OS builds. So, version 16 may not be fully stable right after install. Some integrations might not start properly. Rarely, data corruption can happen if the device crashes mid-install.
To avoid these problems, follow this approach:
- Install version 15 first, which is stable on the board.
- Complete the initial setup, add your integrations, and confirm the system runs well.
- Then, use the built-in update feature to upgrade from version 15 to 16.
This way, you get the stability of version 15 while still accessing all new features in version 16. It greatly lowers the risk of failed installs, corrupted settings, and other headaches from a direct install.
Post-Installation: What to Do After Your First Boot
After successful installation, you'll want to configure your Home Assistant hub to work with your devices and automate your home.
First Time Setup:
- Create a user account with a strong password (this controls access to your system)
- Confirm your home location for weather, sun position, and location-based automations
- Set up your preferred unit system (metric vs. imperial)
- Configure your Wi-Fi network settings
Next Steps to Explore: Install add-ons for enhanced functionality (ESPHome, SSH, Samba, Z-Wave, Zigbee support). Connect your first smart devices (start with devices that use Wi-Fi or the supported protocol). Create basic automations using the UI automation editor. Explore pre-built blueprints and community scripts. Set up persistent notifications and alerts.
Hardware Add-Ons to Consider: If you plan to use non-Wi-Fi devices, consider adding Zigbee Dongle (for Zigbee devices: sensors, lights, switches from Philips, IKEA, etc.). Z-Wave Stick for Z-Wave devices (older but reliable smart home devices). USB Stick for Thread/Matter support (newer smart home standard).
Real-World Integration Examples
Understanding what you can actually do helps justify the installation effort.
Lighting Automation Example: Create an automation that turns on hallway lights at 80% brightness when motion is detected between sunset and 11 PM. The lights automatically turn off 5 minutes after motion stops. In summer (longer days), the automation skips daytime, saving energy.
Climate Control Example: Set your thermostat to warm the house one hour before your typical wake-up time. Have it automatically lower temperature when the last person leaves home (via phone location). Create a "guest mode" scene that adjusts temperature and locks doors for visiting family.
Energy Saving Example: Track which devices consume the most power using smart plugs. Create automations that turn off devices after a specific idle time. Set rules to avoid running high-power devices (laundry, water heater) during peak electricity hours when rates are highest.
Security Automation Example: Arm the security system when everyone leaves home. Trigger indoor lights to turn on and off in a random pattern to simulate presence when nobody is home. Send phone notifications when doors unlock or windows open unexpectedly. Use reliable door and window sensors like the [TUO Contact Sensor with Matter and Thread support](/product/tuo/contact-sensor-with-matter-thread-support/) to monitor all entry points with Matter-certified reliability.
Morning Routine Example: Create a "Good Morning" scene that gradually increases bedroom lights, brews coffee, starts your preferred music, displays the day's weather, and shows your calendar in the web interface.
Understanding Home Assistant's Architecture and Benefits
Why Home Assistant Beats Proprietary Hubs: Most commercial smart home hubs lock you into one manufacturer's ecosystem (Amazon for Alexa, Google for Google Home). Home Assistant works with virtually any device, regardless of brand. This "hub-agnostic" approach gives you vendor independence (you're not locked into one company's future decisions), cost control (no subscription fees for local automation and control), data privacy (your data stays on your local network, not sent to cloud servers), customization (advanced users can build complex automations impossible with other systems), and longevity (your hub keeps working even if a manufacturer discontinues support).
The Raspberry Pi as a Hub Platform: Why use a Raspberry Pi instead of other options? Affordable (under $75 for a capable hub - much cheaper than commercial alternatives). Reliable (low power consumption means it can run 24/7 without huge electricity costs). Upgradeable (easy to add Zigbee/Z-Wave adapters via USB). Proven (thousands of users have stable, multi-year deployments). Community (massive active community provides support and add-ons).
Advanced Topics to Explore Later
Once you're comfortable with basic automation, you can explore:
YAML Configuration: For advanced users, Home Assistant supports powerful YAML configuration for complex automations and custom templates that the UI cannot express.
ESPHome Integration: Create custom smart devices using cheap ESP32/ESP8266 boards. Build temperature sensors, light switches, or door sensors for pennies compared to commercial alternatives.
Custom Integrations: Add support for devices Home Assistant doesn't natively support through community-created integrations. Thousands exist for almost any device imaginable.
Historical Data and Analytics: Store years of sensor data to understand your home's patterns. Create charts showing energy usage trends, temperature patterns, humidity issues, etc.
Voice Assistant Integration: Integrate with Google Assistant or Alexa for voice control while keeping local processing for privacy-sensitive operations.
Mobile App Setup: Use the official Home Assistant mobile app to control your home from anywhere, receive instant notifications, and trigger automations based on your phone's location.
Detailed Troubleshooting Guide for Installation Issues
Even with careful installation, issues sometimes occur. Here's how to resolve the most common problems:
Web Interface Not Accessible After Boot: Installed successfully but cannot reach homeassistant.local:8123? Verify network connection (check that Pi is connected to network - Ethernet light lit or Wi-Fi icon visible). Check IP address (use router admin panel to find Pi's IP address, try http://{pi-ip}:8123 instead of localhost). First boot can take 30-40 minutes on initial configuration; wait at least 45 minutes before troubleshooting. Restart the Pi (unplug for 10 seconds, plug back in, wait 10 minutes). Check power supply (inadequate power causes boot failures; use official Pi power supply 5.1V for Pi 4, 27W USB-C for Pi 5). Verify SD card (try re-flashing with latest HAOS image, current version 15.x). Rebuild the database (if stuck in reboot loop, SQLite database may be corrupted; requires manual intervention).
Slow Performance / Web Interface Laggy: Automations run late, UI responds slowly, devices take 5-10+ seconds to react? Check CPU usage (in Settings → System → About, verify CPU usage is under 60% during normal operation). Reduce automations (too many active automations cause slowdowns; disable non-essential ones temporarily). Clear browser cache (large cache can slow web interface; try private/incognito browsing). Reduce integration refresh rates (some integrations query devices every 10 seconds; increase to 30-60 seconds if safe). Upgrade to Pi 5 (if on Pi 3/4 with 200+ devices, Pi 5 provides 2-3x performance improvement). Add RAM (Pi 5 with 4GB performs significantly better than 2GB variant).
Frequent Reboots or Crashes: Pi restarts itself without user action, or becomes unreachable randomly? Check power supply (insufficient amperage causes unexpected shutdowns; use 5A+ power supply for Pi 4/5). Thermal issues: Pi overheats and reboots as protection; add heatsink/fan (check CPU temp in About screen, should stay <80°C). SD card corruption: Frequent crashes indicate failing SD card; try higher-quality card (Samsung, SanDisk A2 rated). Problematic add-ons: Disable recently added add-ons one-by-one to identify the culprit. Insufficient storage: If SD card is >90% full, it can cause stability issues; expand partition or delete old logs.
Add-ons Failing to Install or Start: Add-on installation hangs, fails with error, or crashes immediately after install? Insufficient disk space: Add-ons need 500MB-1GB free space; clean up old backups or logs. Memory limitations: Pi 2GB RAM model struggles with multiple large add-ons; reduce to essential add-ons only. Architecture mismatch: Ensure you're downloading correct architecture (64-bit for Pi 4/5, 32-bit for older models). Network issues: Failed downloads during install; try installing again or check your internet connection. Incompatible add-on version: Some add-ons conflict; check GitHub issues or Home Assistant forums for compatibility. Try installing from different browser or private/incognito window.
Network/WiFi Connection Drops: Pi loses connection to network randomly, especially with Wi-Fi? Use Ethernet instead (Wi-Fi is less reliable; use wired Ethernet connection if possible). WiFi interference: Microwave, cordless phones, or wireless speakers interfere with 2.4GHz Wi-Fi; switch to 5GHz if available (note: need correct driver). Router issues: Restart your router; check for firmware updates. WiFi driver problems: On Pi 4, update firmware with sudo rpi-eeprom-update (advanced users only). Weak signal: Move router closer or use Wi-Fi extender; Pi boards have weaker antennas than phones. Too many devices: If connected to same network as 50+ devices, WiFi router becomes bottleneck; upgrade to WiFi 6 router.
YAML Configuration Errors: Automations don't work, "Error in configuration" messages appear? Check indentation (YAML requires proper spacing: 2 or 4 spaces, never tabs; one space off breaks everything). Verify syntax (use online YAML validators before saving; Home Assistant's built-in checker helps). Check entity names (if automation references non-existent entity, it fails; verify entity names exactly in Developer Tools). Reload automations (after editing, use Developer Tools → Actions → automation.reload to apply changes without reboot). Check logs (Settings → System → Logs shows detailed error messages; scroll to find your specific error).
Performance Optimization Guide for Optimal Operation
Maximizing Home Assistant performance ensures snappy automations and responsive interface:
Hardware Optimization: Use Pi 5 if possible (2.4x faster CPU than Pi 4, handles 500+ devices smoothly vs Pi 4's 200-300 device limit). Install heatsink (keeps CPU below 70°C for consistent performance; cheap copper heatsinks very effective). Use SSD via USB (external SSD via USB 3 dramatically improves I/O performance 3-5x faster than SD card). Upgrade to 4GB RAM (2GB variant struggles with many add-ons; 4GB eliminates memory-based slowdowns). Quality power supply (use official Raspberry Pi power supply; cheap chargers cause voltage drop and instability).
Software Optimization: Disable unused integrations (each integration consumes memory; remove integrations you don't actively use). Increase automation performance (trigger-based automations motion sensor) faster than time-based; prefer triggers). Reduce polling frequency (devices that poll every 10 seconds waste resources; increase to 30-60 seconds if safe). Database maintenance (entity history storage grows over time; set retention period to 7-14 days in Developer Tools Settings). Optimize templates (complex Jinja2 templates in automations slow processing; simplify if possible).
Network Optimization: Use Ethernet (wired connection 10x more stable and faster than Wi-Fi; reduces latency from 50ms to <5ms). Separate 2.4GHz & 5GHz (ensure router doesn't force 5GHz only; Pi boards need 2.4GHz for compatibility). Reduce DHCP renewal time (shorten from 24 hours to 4 hours to prevent stale IP issues). Enable IPv6 (if available, can improve performance for dual-stack networks). Monitor bandwidth (use router's traffic monitor; if approaching limits, reduce smart device count).
Add-on Optimization: Install only essential add-ons (each add-on increases memory usage and boot time). Essential add-ons: Duck DNS (remote access), Samba (file sharing), maybe one protocol coordinator (ZigBee/Z-Wave). Optional but useful: SSH, VS Code Editor for advanced configuration. Avoid multiple protocol coordinators (running both ZigBee and Z-Wave significantly increases resource usage). Keep add-ons updated (developers patch performance issues; check for updates weekly).
Storage Optimization: Clean old automations/scripts (unused automations still consume memory; regularly delete old ones). Archive logs (old logs accumulate; set 7-day retention and enable automatic purge). Minimize history recording (disable history for non-essential entities like system info, debug sensors). Use SSD for database (if possible, external USB 3 SSD improves database performance 3-5x). Monitor storage (set up automation to alert when storage exceeds 85%; manually clean up if needed).
Raspberry Pi Hardware Comparison: Choosing Your Deployment Platform
Understanding hardware differences helps you choose the right Pi for your needs:
Raspberry Pi 4 (Model B): 1.5 GHz 4-core ARM CPU, 2GB/4GB/8GB RAM variants, 4x USB 3.0, Gigabit Ethernet. Reliably supports 200-300 smart devices. 3-5 add-ons comfortable; beyond that, performance degrades. Price $35-55 (4GB variant). Best for small-medium homes (< 2000 sq ft), <200 devices, budget-conscious buyers. Gets warm under heavy load; needs heatsink for prolonged use. Storage expansion via USB drives (USB 3 not available on some boards).
Raspberry Pi 5: 2.4 GHz 4-core ARM CPU, 4GB/8GB RAM variants, 4x USB 3.0 type-A, 2x USB Type-C, 2.5Gbps Ethernet, M.2 SSD support. Smoothly supports 300-500+ smart devices. 5-8 add-ons without performance degradation. Price $50-80 (4GB variant), higher for 8GB. Best for medium-large homes (> 2500 sq ft), 300+ devices, multiple users/remotes accessing simultaneously. Much cooler operation; built-in M.2 SSD support eliminates SD card bottleneck. Native M.2 slot supports fast NVMe SSD (2500MB/s vs 100MB/s SD card). 2-3x faster than Pi 4 for complex automations and UI responsiveness.
Raspberry Pi Zero 2W: 1 GHz 4-core ARM CPU, 512MB RAM, Wireless 802.11ac, Bluetooth. Supports 10-30 devices max; struggles with more. Price $15-20. Best for tiny homes, testing before buying full Pi, extremely budget-conscious. Not recommended for production use; too slow for real-world deployments.
Comparison Table:
Feature          | Pi 4 (4GB)  | Pi 5 (4GB)  | Pi Zero 2W
Processor Speed  | 1.5 GHz     | 2.4 GHz     | 1.0 GHz
RAM              | 4GB         | 4GB         | 512MB
Device Limit     | 200-300     | 300-500+    | 10-30
Add-ons Limit    | 3-5         | 5-8         | 1-2
Price            | $55         | $80         | $15
Recommended      | Small home  | Large home  | Testing
Upgrade Path Recommendation: Start with Pi 4 (4GB) if budget-limited; upgradeable later. Invest in Pi 5 if you have 300+ devices or plan significant growth. Consider SSD upgrade critical for Pi 4 (adds $30-50 but improves speed 3-5x). Plan for future expansion; a larger hub now prevents replacement later.
Network Setup & Security Best Practices
Properly configuring network and security ensures safe, reliable operation:
Network Configuration: Use static IP by assigning fixed IP to Pi in router DHCP settings; prevents homeassistant.local resolution failures. Reserve IP address in router settings by creating DHCP reservation (not static assignment outside DHCP). Enable port forwarding (carefully) - if remote access needed, forward only to Pi's 8123 port and use strong password. Use reverse proxy for better security than direct forwarding; Nginx reverse proxy recommended for production. Enable firewall using UFW (Uncomplicated Firewall) to limit incoming connections to only necessary ports.
Security Hardening: Strong password - change default admin password immediately; use 16+ character random password. Two-factor authentication - enable in Settings → People → Add 2FA to admin account. Limit user accounts - only create necessary user accounts; disable unused accounts. Regular backups - create automatic backups to external storage weekly; test restore procedure. Keep system updated - enable automatic updates in Settings → System; new versions patch security flaws. Use HTTPS - enable SSL certificate (Let's Encrypt via Duck DNS add-on) for encrypted access. VPN access - for remote access, use VPN instead of port forwarding (more secure).
Backup & Recovery Procedures for Peace of Mind
Protecting your configuration ensures recovery from failures:
Automated Backup Setup: Enable automatic backups in Settings → System → Backups. Configure daily backups (stores 7 most recent automatically). Set up external backup storage (USB drive or cloud). Test restore procedure monthly (try restoring to test config).
Manual Backup Steps: Settings → System → Backups → Create Backup. Download backup file to your computer (stores all automations, configs, history). Store backup on external drive or cloud storage. Label with date and version number for easy identification.
Restore from Backup: If system is broken, re-flash SD card with HAOS. Do NOT create account yet; go directly to Settings → System → Backups. Click "Restore from backup" and select your backup file. System restores all configurations, automations, integrations (takes 5-10 minutes). All devices reappear automatically with same settings.
Disaster Recovery: If hardware fails completely, get new Pi 4/5 and official power supply. Flash new SD card with latest HAOS. Restore from backup taken before failure. Existing system configuration restored within minutes.
Comparing Home Assistant Deployment Options
Understanding your choices helps you pick the right approach:
Home Assistant Operating System (HAOS - Recommended): Best for beginners and most users. Automatic updates, backup, and maintenance. Supervisor manages add-ons and system. Works seamlessly on Raspberry Pi 4/5. This is what this guide installs. Time to production: 30-45 minutes. Skill required: Beginner-friendly.
Home Assistant Container: For Docker enthusiasts. More manual management required. Requires understanding of containers. Better for advanced users. Time to production: 2-3 hours. Skill required: Intermediate-advanced. Advantage: Works on any Linux system.
Home Assistant Core: For developers comfortable with Python. Maximum customization possible. Requires manual dependency management. Steepest learning curve. Time to production: 4-6 hours. Skill required: Advanced (Python knowledge recommended). Advantage: Maximum control over dependencies.
Home Assistant Virtual Machine: For users wanting to try before investing in hardware. Good for testing before buying Pi. Can't use USB hardware adapters. Perfect for learning the interface. Time to production: 1-2 hours. Skill required: Beginner-intermediate. Advantage: Test drive before hardware commitment.
Get Started with Home Assistant on Your Raspberry Pi
Setting up the automation platform on your single board computer might seem complex at first, but this guide makes your smart home journey smooth and straightforward. With the embedded minimalistic operating system running on your Pi, you get a powerful ecosystem at your fingertips, full control over your smart home automation, the flexibility to grow and expand your setup over time, local processing for privacy and reliability, and community support and regular updates through the Supervisor component.
Your Raspberry Pi transforms into a powerful automation hub, ready to manage everything from basic scheduling to complex automations. Start your smart home journey today and discover the freedom of a system that's truly yours.