
A In the fast‑moving world of connected gadgets, transforming a Raspberry Pi into a Raspberry Pi Smart Home Hub is one of the most rewarding DIY projects you can tackle today. By following this guide, you'll create the ultimate platform for local automation and privacy. A single‑board computer barely larger than a credit card can become the beating heart of your automated house, tying together lights, sensors, locks and speakers under one locally controlled roof.
This complete rewrite shows you how to get there, highlighting the hardware you need, the software that makes it possible, and the practical benefits you will enjoy.
Why choose a Raspberry Pi Smart Home Hub
The Pi’s low price, silent operation and excellent community support make it the ideal launchpad for home automation experiments.
Because it draws only a few watts, it can run 24/7 without inflating your electricity bill, yet the current Raspberry Pi 5 delivers desktop‑class performance that easily handles dozens of integrations and real‑time dashboards.
Unlike proprietary hubs that lock you into one ecosystem, a self‑hosted hub gives you full ownership: your data stays in your home, your automations continue even without internet, and you decide when to update or expand.
Key advantages
- Affordability – entry‑level cost with no monthly fees.
- Flexibility – supports Wi‑Fi, Ethernet, Bluetooth, Zigbee, Z‑Wave and Thread through add‑on modules.
- Privacy – all processing runs locally, so voice commands, camera feeds and sensor logs never leave your network.
- Scalability – start with a handful of bulbs, then grow into multi‑room audio, robot vacuums and advanced energy monitoring.
- Transformation potential – empowers you to continually transform your smart home setup as new technologies emerge.
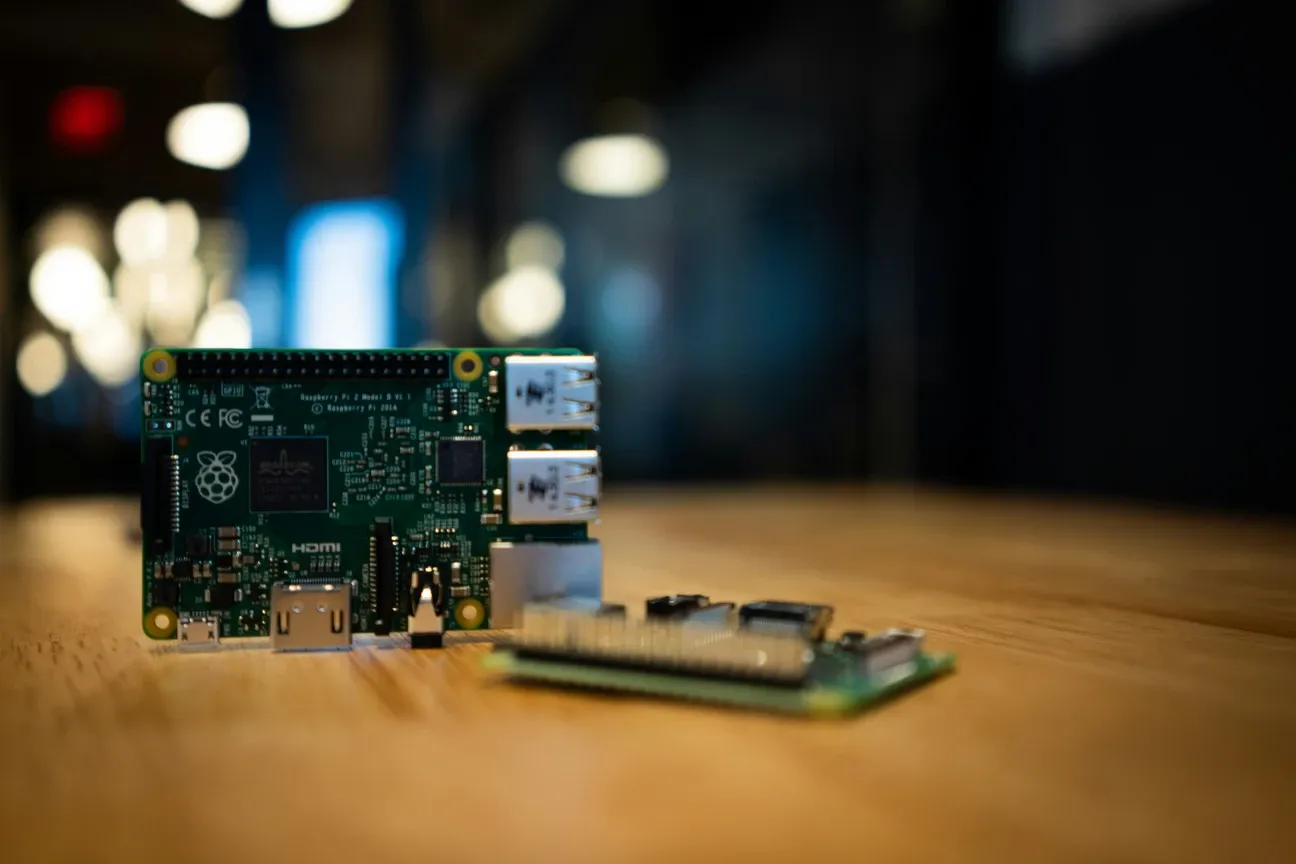
Essential hardware checklist
Before flashing any software, gather these items:
- Raspberry Pi 4 (4 GB) or Pi 5 for best performance. For budget-conscious setups or those interested in compact form factors, the Raspberry Pi 1 Model B Plus remains viable for smaller deployments with fewer integrations.
- High‑endurance 32 GB microSD card or NVMe drive for heavy logging.
- 5 V / 3 A USB‑C power supply to avoid brown‑outs.
- Gigabit Ethernet cable for the initial installation and stable operation.
- Optional: USB Zigbee or Z‑Wave stick, PoE HAT, or a seven‑inch touchscreen if you want a wall panel.
Installing Home Assistant in minutes
Home Assistant OS is purpose‑built for the Raspberry Pi Smart Home Hub and includes everything you need in one image.
- Download Raspberry Pi Imager on your computer.
- Choose Home Assistant from the Other specific‑purpose OS menu.
- Flash the image onto the microSD card and insert it into your Pi.
- Boot the board, wait five minutes, then open a browser at homeassistant.local:8123 to begin onboarding.
- Create an account, set your location and enable automatic backups so you never lose automations.
That is it-the base system is live.
Expanding your hub with integrations
Out of the box, Home Assistant detects many devices such as Philips Hue lights, Sonoff switches and TP‑Link smart plugs. For gear that speaks Zigbee or Z‑Wave, plug in a compatible radio and activate the ZHA or Z‑Wave JS add‑on. Popular Zigbee coordinators include the Sonoff Zigbee 3.0 Pro, which pairs well with Zigbee devices like Aqara Smart Plug and Aqara LED Strip T1 for reliable local control without cloud dependencies. If you prefer a single, uniform language for all DIY sensors, install MQTT and point devices to your Pi's IP address. Home Assistant also natively supports Matter devices like the Aqara Smart Lock U300 and Aqara Water Leak Sensor through Thread mesh networks, ensuring fast, secure communication across your home.
Automations that feel like magic
- Turn on the porch light at sunset when motion is detected.
- Pause the robot vacuum if someone starts a video call.
- Lower the thermostat when everyone leaves the geofenced zone.
- Flash a red LED strip if the water‑leak sensor triggers.
The visual editor is perfect for beginners, yet power users can switch to YAML or Node‑RED for advanced logic and version control.
Boosting energy efficiency
Using a Raspberry Pi Smart Home Hub can transform your energy usage patterns and pay for itself by trimming waste.
Pair it with smart plugs that report consumption or with whole‑home CT clamps, then build a dashboard that shows live wattage and monthly costs.
Set thresholds so heavy appliances only run when solar panels are producing, or send yourself a notification if the fridge suddenly gobbles more power than normal-often an early sign of failure.
Voice and touch control options
While the browser UI is powerful, nothing beats hands‑free commands.
Using Google Assistant or Amazon Alexa via official Home Assistant Cloud, or keeping everything offline by installing open-source voice assistants such as Rhasspy, are both viable control methods.
If you mounted a seven‑inch display, load the kiosk dashboard and pin it near the front door for quick glances at weather, cameras and alarm status.
Securing and maintaining your hub
Keep your Pi safe by changing default passwords, enabling two‑factor authentication and scheduling automatic updates.
A weekly snapshot uploaded to a NAS or cloud drive ensures a failed SD card never ruins your smart home.
Because all data remains local, you already dodge many privacy pitfalls, but make sure to restrict remote access with a strong VPN rather than exposing ports directly.
Community and future upgrades
Thousands of enthusiasts share blueprints, themes and how‑to videos, so you are never alone when troubleshooting. As your needs grow, you can migrate the same Home Assistant configuration to a more powerful device like the Raspberry Pi 500 for enhanced performance, an Intel NUC or convert the Pi into a dedicated Zigbee coordinator. No matter where you take it, the flexible foundation built today guarantees your Raspberry Pi Smart Home Hub remains at the center of an efficient, private and enjoyable living space.