
If you’re looking to upgrade your home security, this guide to installing your smart doorbell is exactly what you need. This ultimate how-to ensures you can install your smart doorbell with confidence and ease. Smart doorbells provide real-time video, motion alerts, and two-way communication, making them an essential part of modern home automation. Whether you’re new to smart devices or just want a clear, step-by-step installation process, this guide will walk you through everything from mounting your doorbell to connecting it with your smartphone app.
Why Follow a Guide to Installing Your Smart Doorbell?
Installing a smart doorbell offers many benefits beyond traditional doorbells. Here’s why following a proper installation guide is important:
- Enhanced Security: Smart doorbells send instant alerts when motion is detected, allowing you to monitor your front door remotely.
- Two-Way Communication: Speak directly to visitors or delivery personnel through your smartphone, no matter where you are.
- Continuous or Motion-Triggered Recording: Keep a record of activity around your door with 24/7 video options.
- Smart Home Integration: Connect your doorbell with other smart devices like locks, cameras, or voice assistants such as Amazon Alexa or Google Assistant for a seamless security system.
Pre-Installation Considerations for Your Smart Doorbell
Before you start, it’s crucial to prepare properly for your smart doorbell installation:
1. Choose Between Wired and Wireless Doorbells
Smart doorbells come in wired and wireless options:
- Wired models connect to your home’s existing doorbell wiring, providing a steady power source but requiring some electrical work.
- Wireless models run on rechargeable batteries and are simpler to install but need regular charging.
2. Gather Necessary Tools
Make sure you have these tools ready:
- Screwdriver (usually included)
- Drill (for mounting on walls without existing wiring)
- Level (to ensure proper alignment)
- Smartphone (for app setup)
3. Check Your Wi-Fi Signal Strength
Your smart doorbell depends on a strong Wi-Fi connection to stream video and send alerts. Confirm your Wi-Fi reaches the installation spot or consider a Wi-Fi extender to boost the signal.
4. Download the Compatible App
Download the manufacturer’s app (such as Ring, Nest, or Arlo) before installation. The app will guide you through setup and device management.
Step-by-Step Guide to Installing Your Smart Doorbell
1. Turn Off Power for Wired Doorbells
If you’re installing a wired smart doorbell, start by turning off power to your existing doorbell circuit to ensure safety.
2. Remove Your Old Doorbell
Unscrew and disconnect the existing doorbell, straightening the wires for easy attachment to your new device.
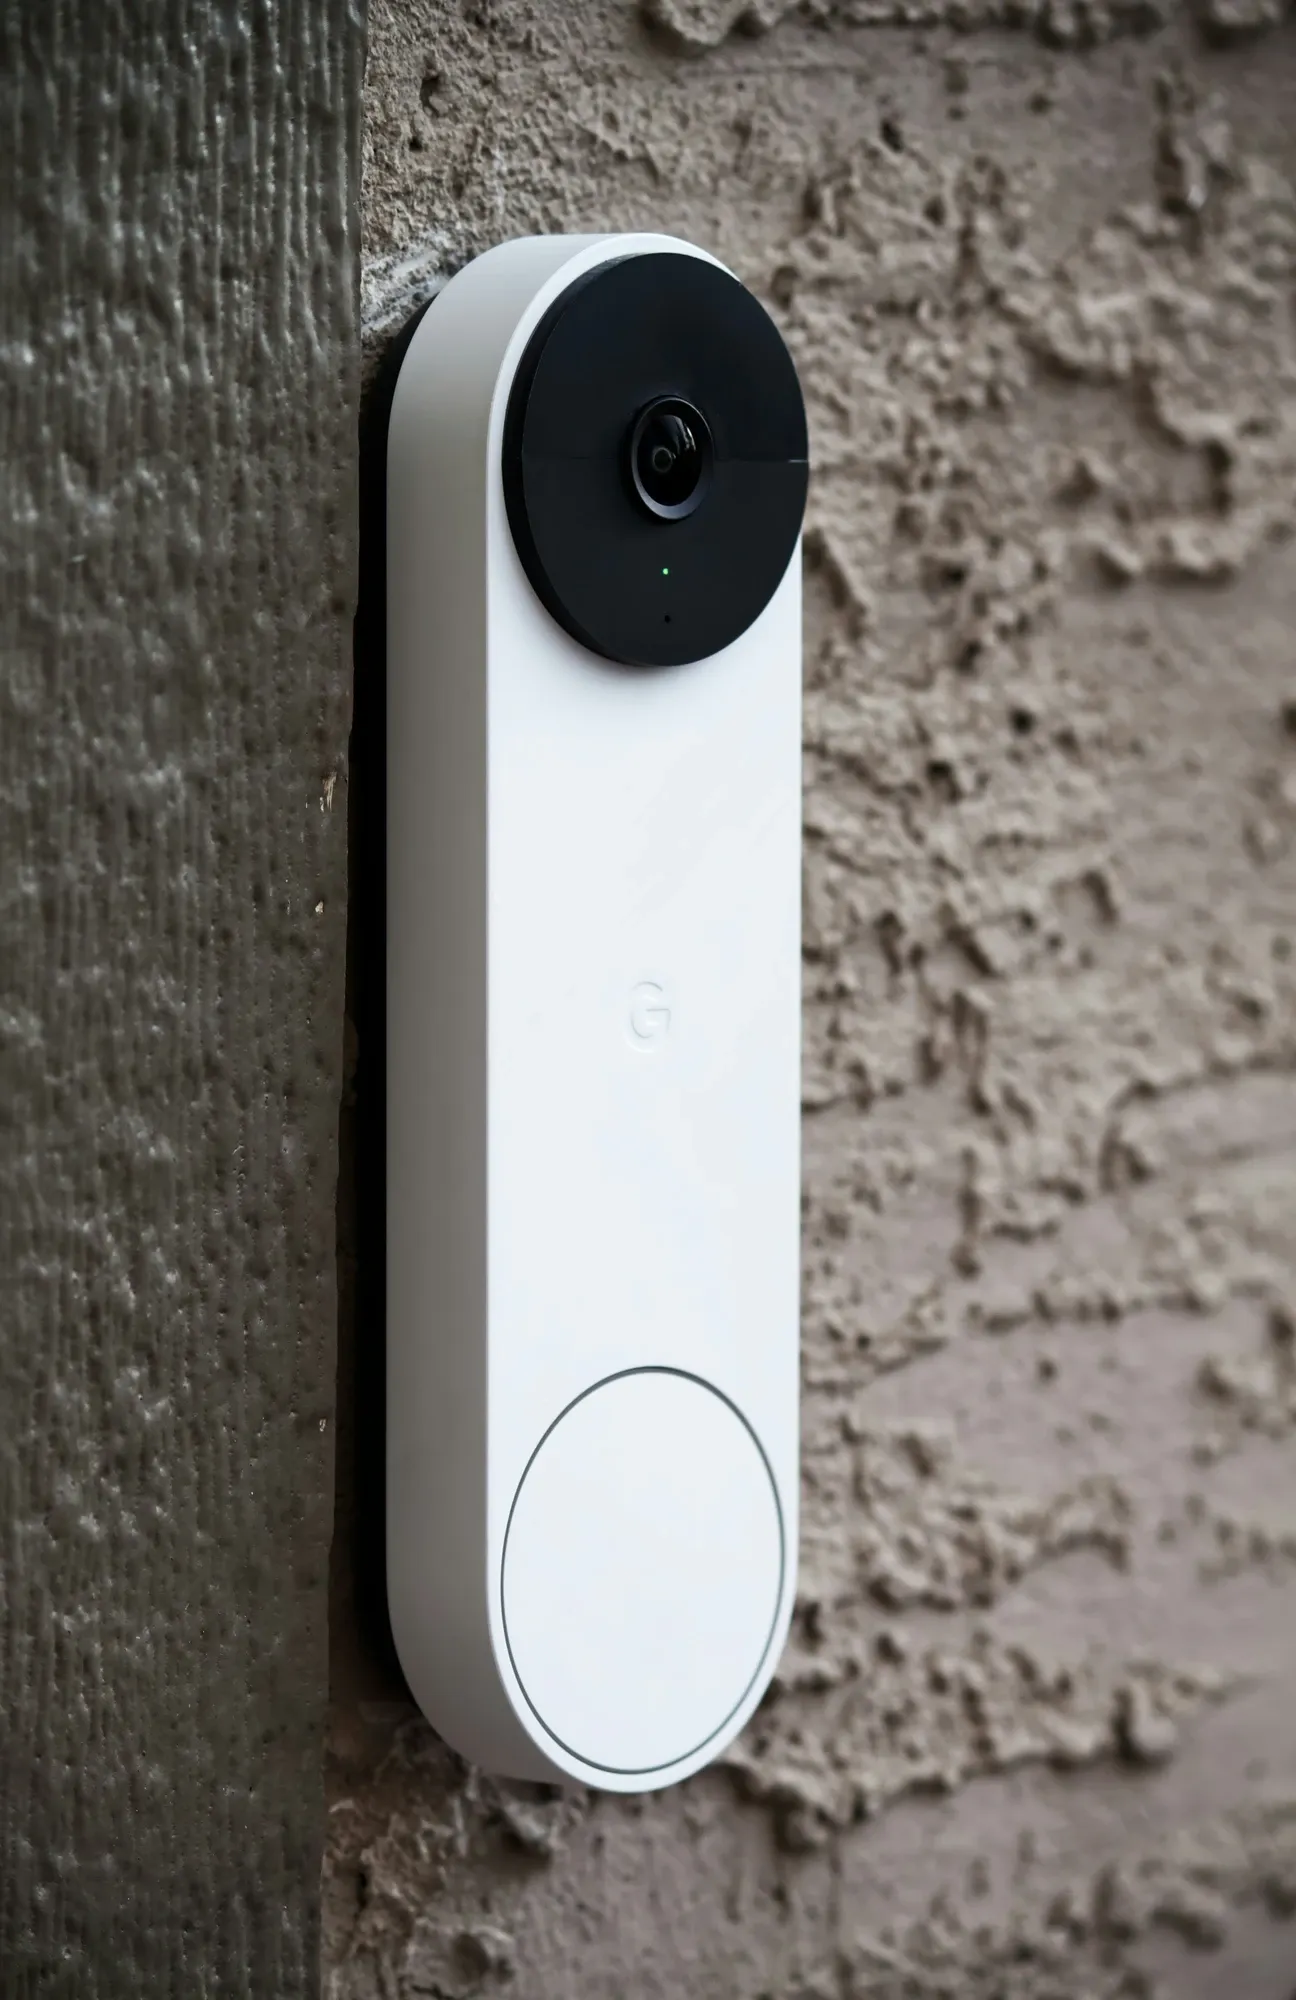
3. Mount the Doorbell Bracket
Use the screws and anchors provided to attach the mounting bracket. For brick or concrete walls, use a masonry bit. Make sure the bracket is level.
4. Connect the Wiring (Wired Models)
Attach the existing wires to the terminals on your new smart doorbell. Follow the manufacturer’s instructions for wire placement, then tuck wires neatly behind the unit.
5. Attach the Doorbell to the Bracket
Snap or screw the doorbell onto the bracket. Secure any security screws to prevent tampering.
6. Restore Power (Wired Models)
Turn the power back on at your breaker panel. Your doorbell should activate, signaling it’s receiving power.
7. Charge the Battery (Wireless Models)
For battery-powered doorbells, fully charge the battery before installation to ensure optimal performance.
8. Set Up Your Doorbell in the App
Open the app and follow the prompts to connect your doorbell to Wi-Fi. Scan the QR code on the device or packaging, then assign a name to your doorbell for easy management.
Customize Your Smart Doorbell Settings
After installation, fine-tune your doorbell settings for the best experience:
- Define Motion Detection Zones to reduce false alerts.
- Choose video recording modes-continuous or motion-triggered.
- Set notification preferences for specific motion types.
- Adjust two-way audio settings for clear communication.
- Integrate your doorbell with other smart devices and voice assistants for enhanced home security.
Following this guide to installing your smart doorbell ensures a smooth setup and helps you maximize your device’s features to keep your home safe and connected.
By following these detailed steps, even first-time users can handle installation confidently. Smart doorbells not only improve convenience but also strengthen your household’s protection. With the right tools and setup, you’ll enjoy peace of mind knowing your smart doorbell keeps your entrance secure and visible at all times. Embrace the DIY approach and take control of your home’s security-your efforts will pay off with increased safety and confidence. Remember, maintaining your smart doorbell is just as crucial as installing it. Regularly updating the app and checking firmware ensures optimal performance, stronger security, and access to the latest features. By keeping your device up-to-date, you’ll extend its lifespan and continue enjoying reliable protection year after year.